Math Monday: Geometric Paper Flowers
[sharethis]
Cornucopias often include flowers of the season among their decorations. So let’s turn our mathematical making efforts toward producing something to fill that role. In fact, it turns out that two small variations on the Geogebra spreadsheet 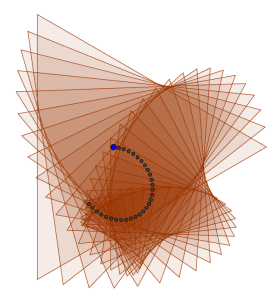 used to create the idealized cornucopia itself produce a lovely array of floral patterns: first, change the shape of each of the cross sections, rotating them at each level to match the rotation of the tangency point; and second, leave all of the cross sections in the same plane.
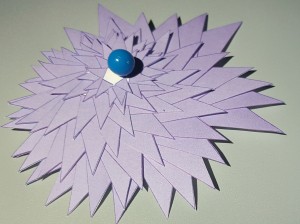
Here’s the first stab at this: triangular cross sections, and all the other parameters the same as the cornucopia. (The blue dots show the center of each triangle, which correspond to the centers of the circles of the cross-sections of the cornucopia when viewed end-on. What’s that curve they seem to lie on? 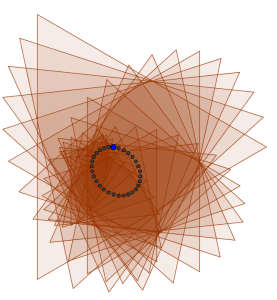 An ellipse? If you’re interested, you’ll find it a pleasant challenge to establish just what that curve is.) It looks interesting and pretty, but rather lopsided for a flower. However, we have a couple of parameters to play with: the rotation at each step and the reduction in radius of the shape at each step. Trying various values leads to this more symmetric design, which is highly suggestive of a spiky flower. So we’ll put that in our gallery.
How else can we get variation to add visual interest to the cornucopia? Let’s try other shapes. Squares and pentagons looked a bit blocky for flowers, but there’s another obvious five-pointed shape: the pentagram, or five-pointed star. Swapping in that shape and playing with parameters again yielded the following design, which is even more floral-looking than the triangular one.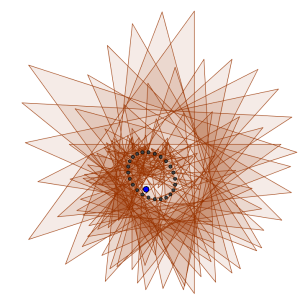 PFT1
PFT1
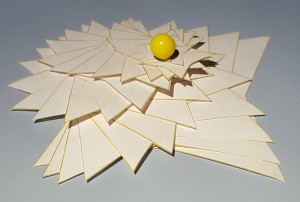
Beyond five-pointed figures, the complexity detracted from the design, so the natural thing was to return to four-pointed shapes. Since squares didn’t scan as flowers, and pentagrams worked well, the next thing to try was tetragrams. And indeed, with more parameter tweaking you can find designs like this: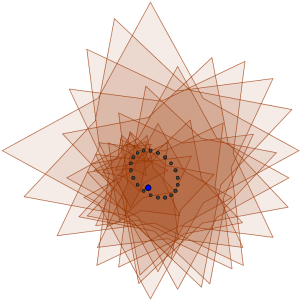
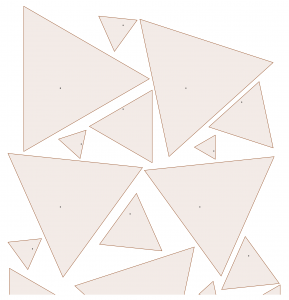
Now it’s time to leave the digital modeling world and make the flowers in the physical one. To do this, we simply add an offset to the position of each of the shapes of each flower, to spread them all out, and produce image files like these: PFT1 PFT2 PFT3 PFP1 PFP2 PFQ1 PFQ2. (I also added a dot on each shape that is in the same place when they are overlapping as designed, to guide the construction of the flowers.)
Print those sheets out, and cut out each shape carefully with sharp scissors. (It works best on the concave angles of the pentagrams between the points to cut from the outer points in 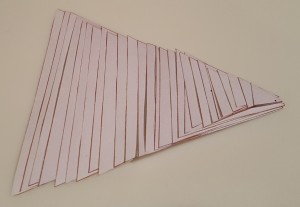 toward the center so that the two cuts meet at the inner vertex and separate the star from thesurrounding paper, rather than to try to get your scissors to start cutting from the inside of that narrow angle.) Here are all of the triangles, for example, lined up in size order — which is important, since you will be constructing the flowers in order from largest to smallest “petals”.
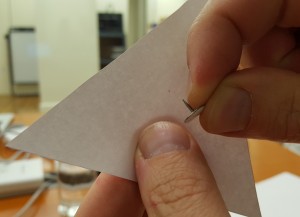
To assemble the flower, push a pin through the marked point on each shape one at a time to create a hole in that spot. Then stack the shapes in order from largest to smallest onto the shaft of a flat-headed thumbtack.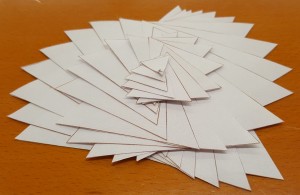 It’s easiest to keep them roughly lined up as you go. You want to orient each triangle so that it looks the most similar it can to the one below; it will never look identical, because it’s smaller and the hole is in a different relative location, to produce the attractive “swirl” of these flowers. When you have them all
 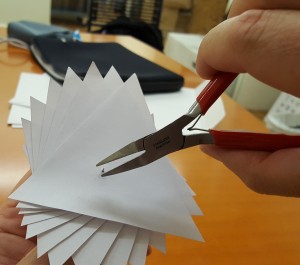 stacked up, transfer them to an attractive pushpin with the head on top, and bend the shaft of the pushpin on the backside to lock them in place. Finally, swirl the successive triangles to produce the floral pattern we modeled. Voila!
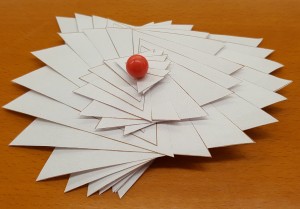
The flowers based on the other two shapes are constructed similarly, producing an ever-growing bounty for our mathematical cornucopia.
