Math Monday: Polyedral Fruit, Part Two – Intermediate Shapes
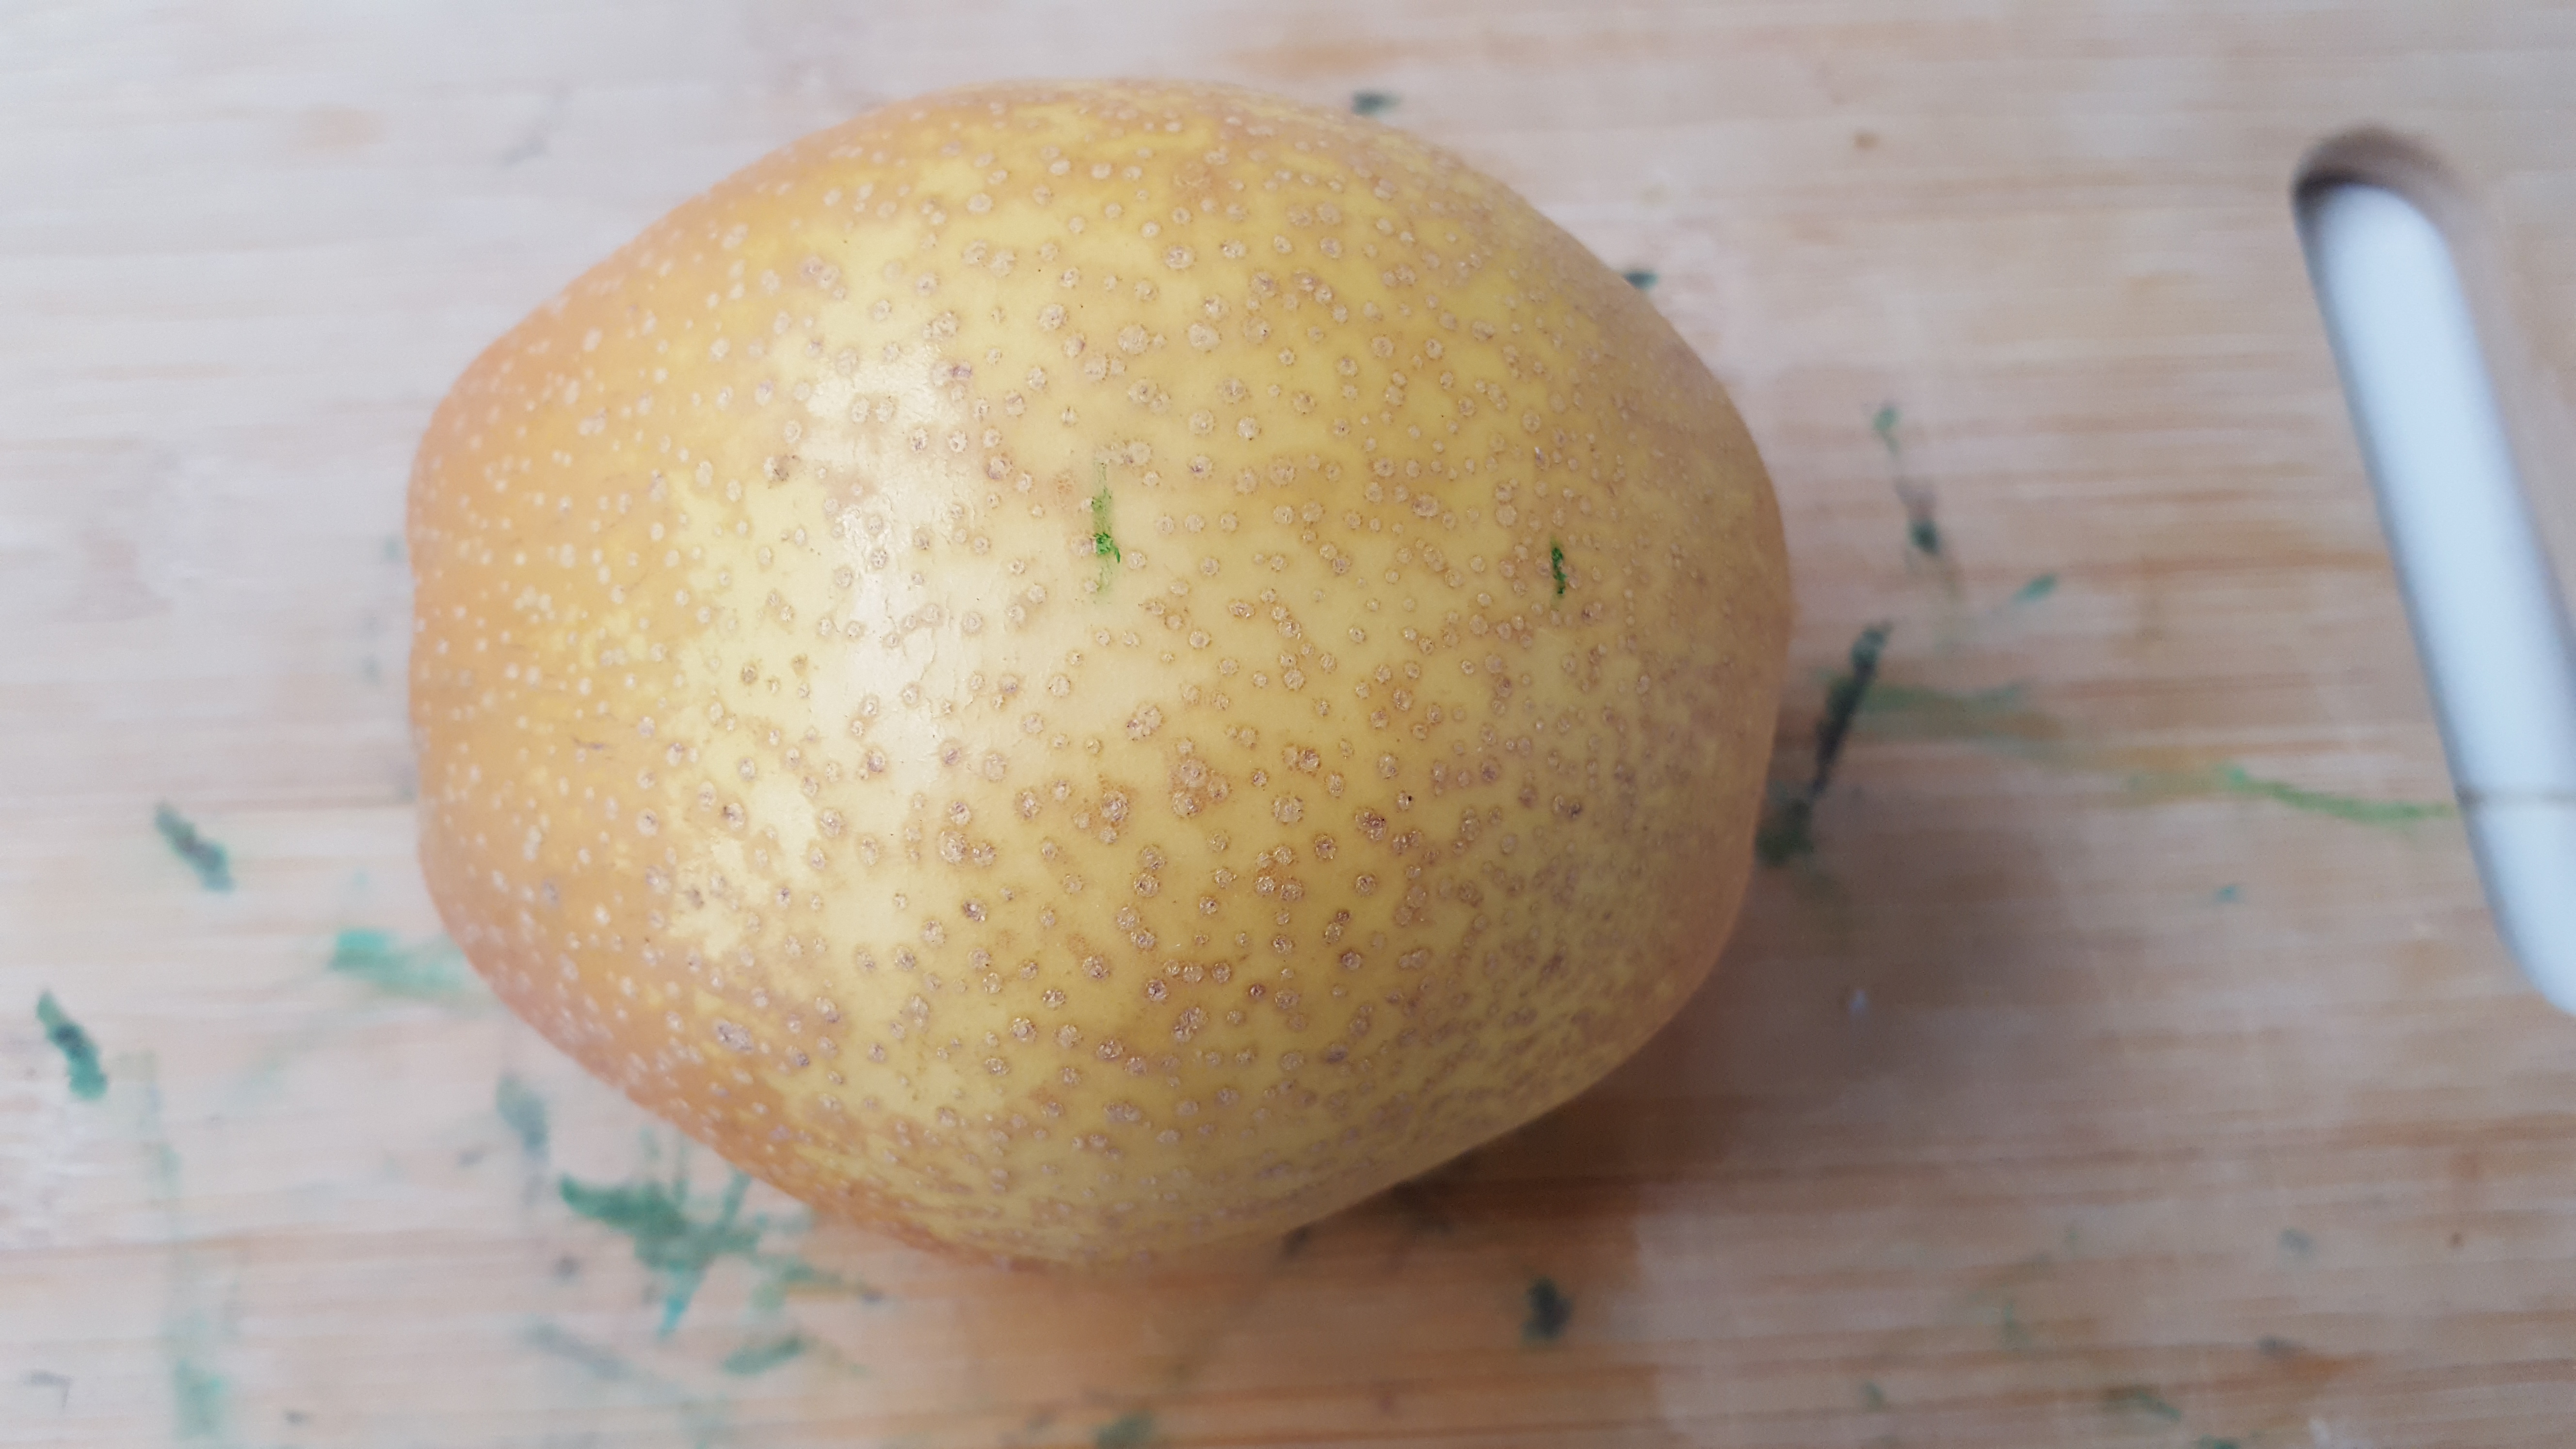
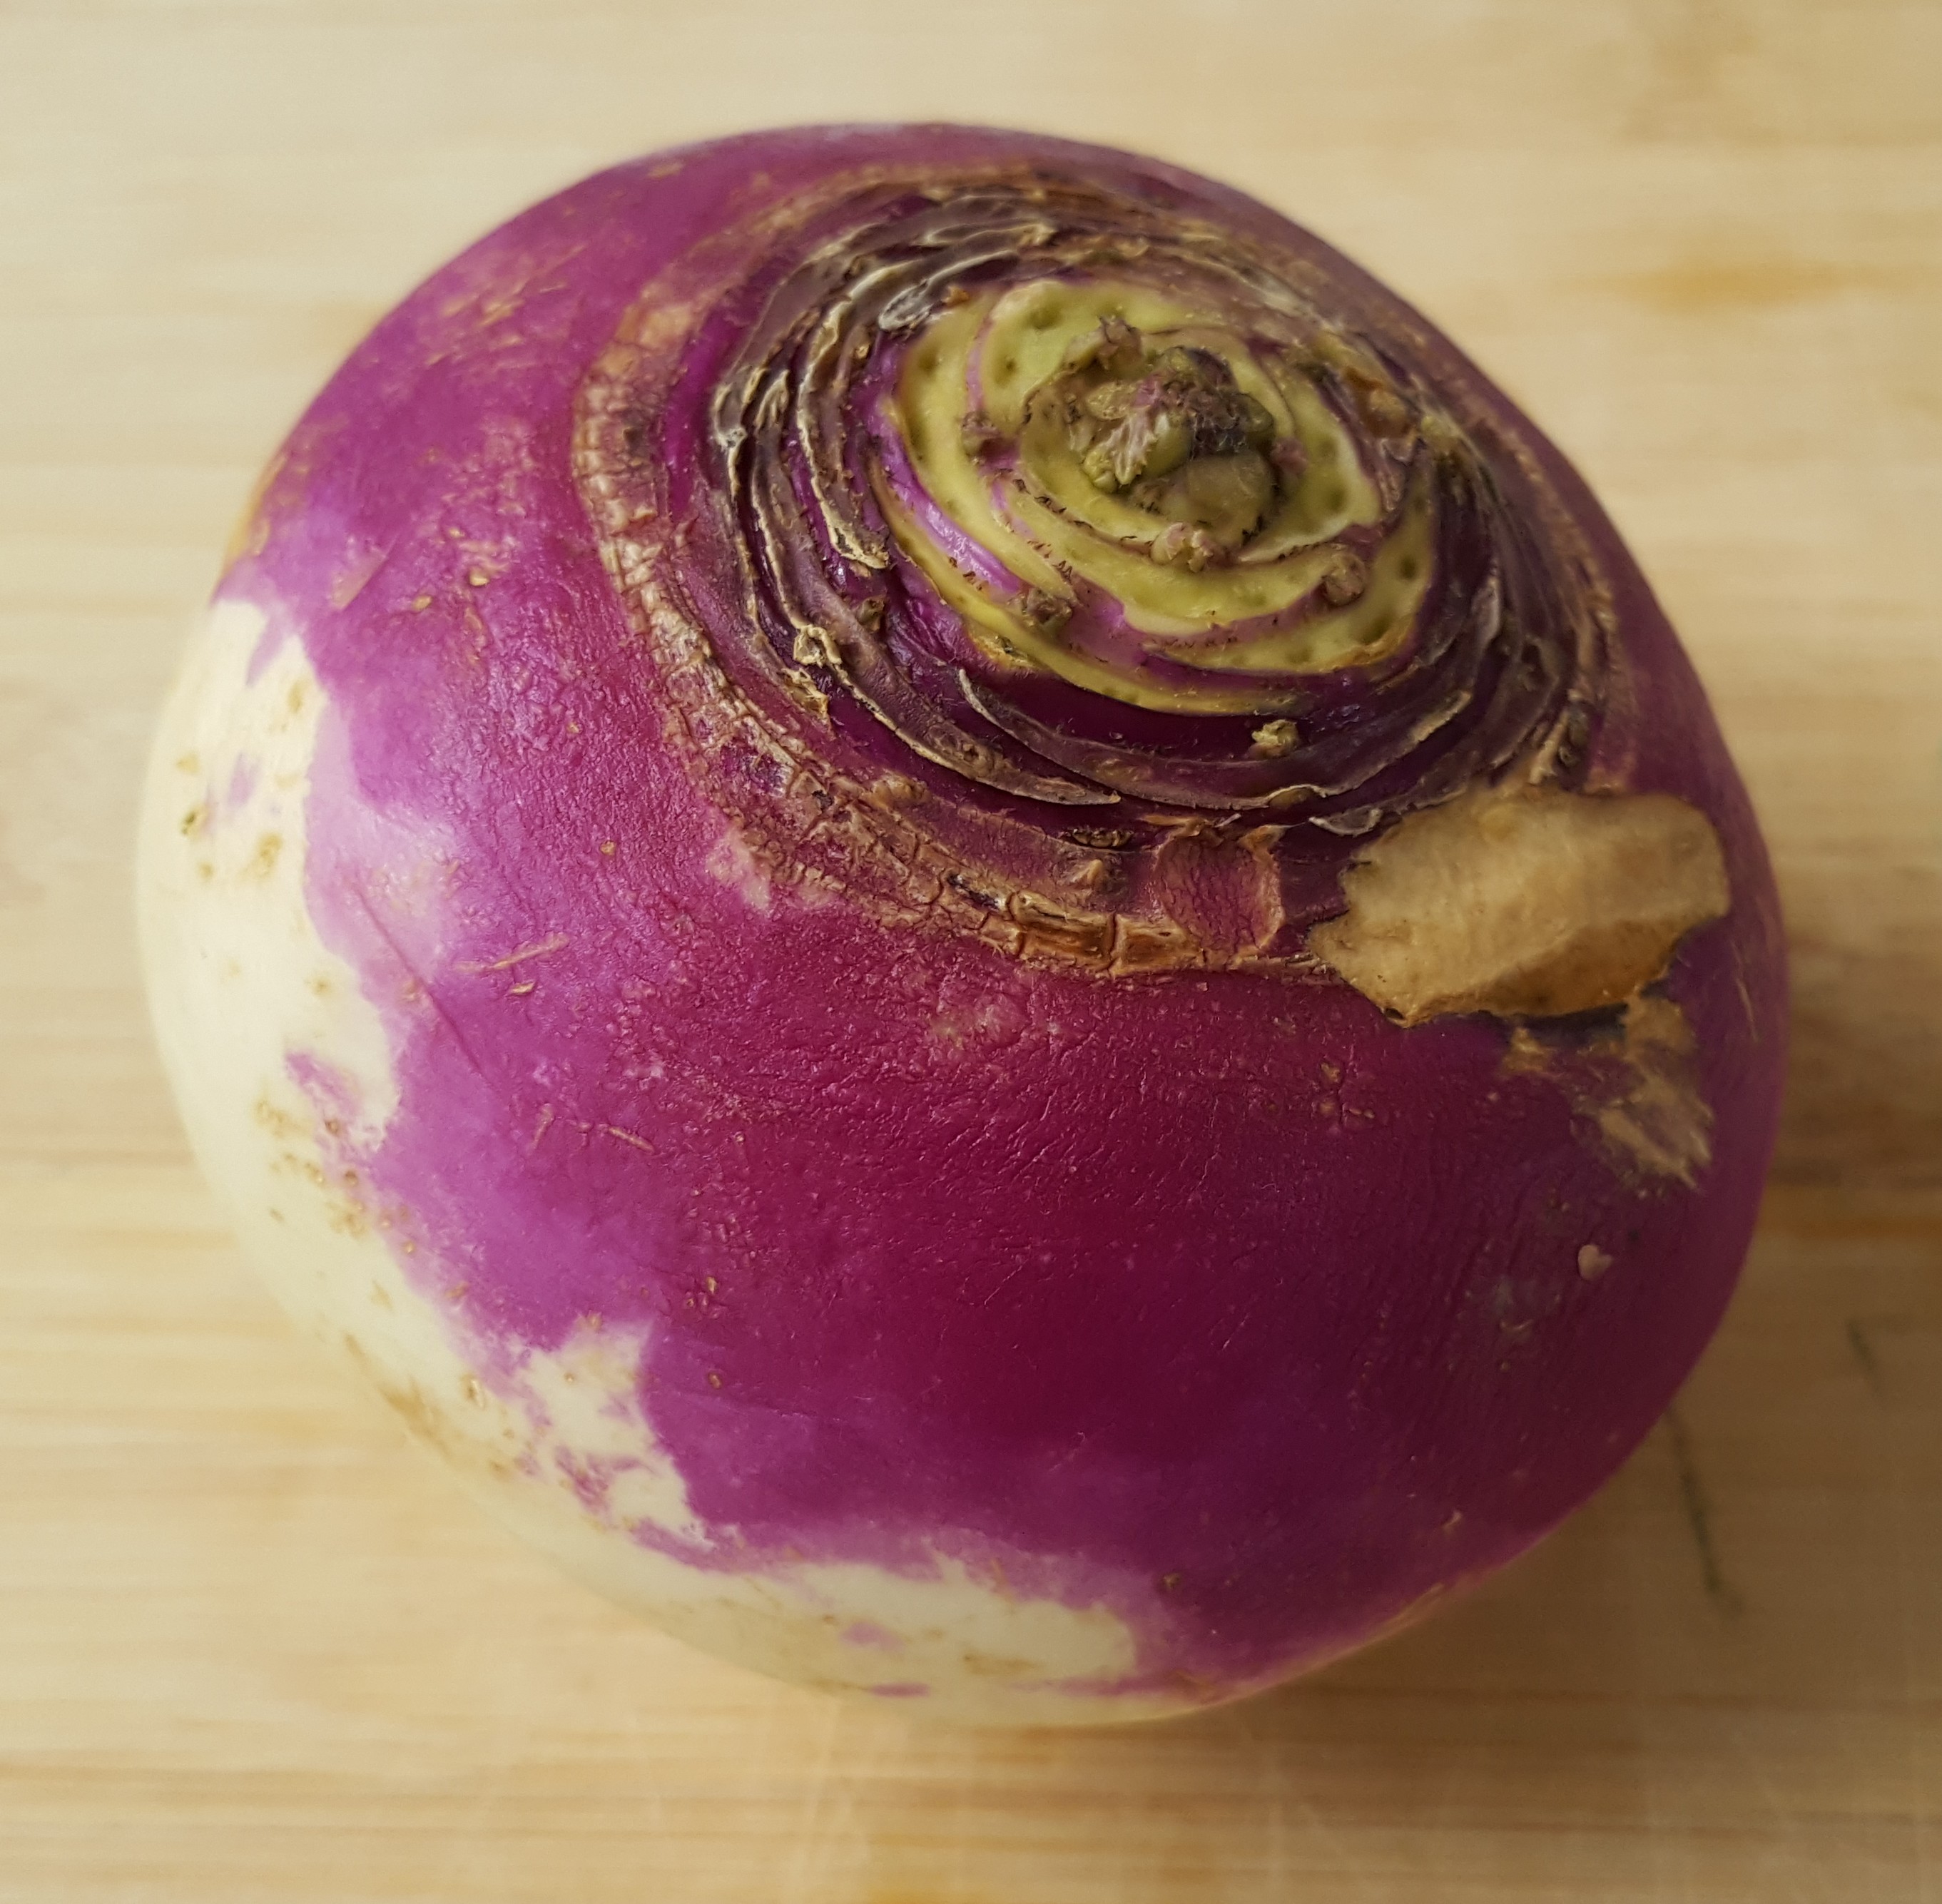 Today we’ll apply some of the techniques described in detail last time to find the polyhedra within a few more vegetables and fruits, starting with this turnip. Like the persimmon, it is fairly squat, but we’re also up for a slightly more interesting challenge this time. Therefore, a natural candidate is the
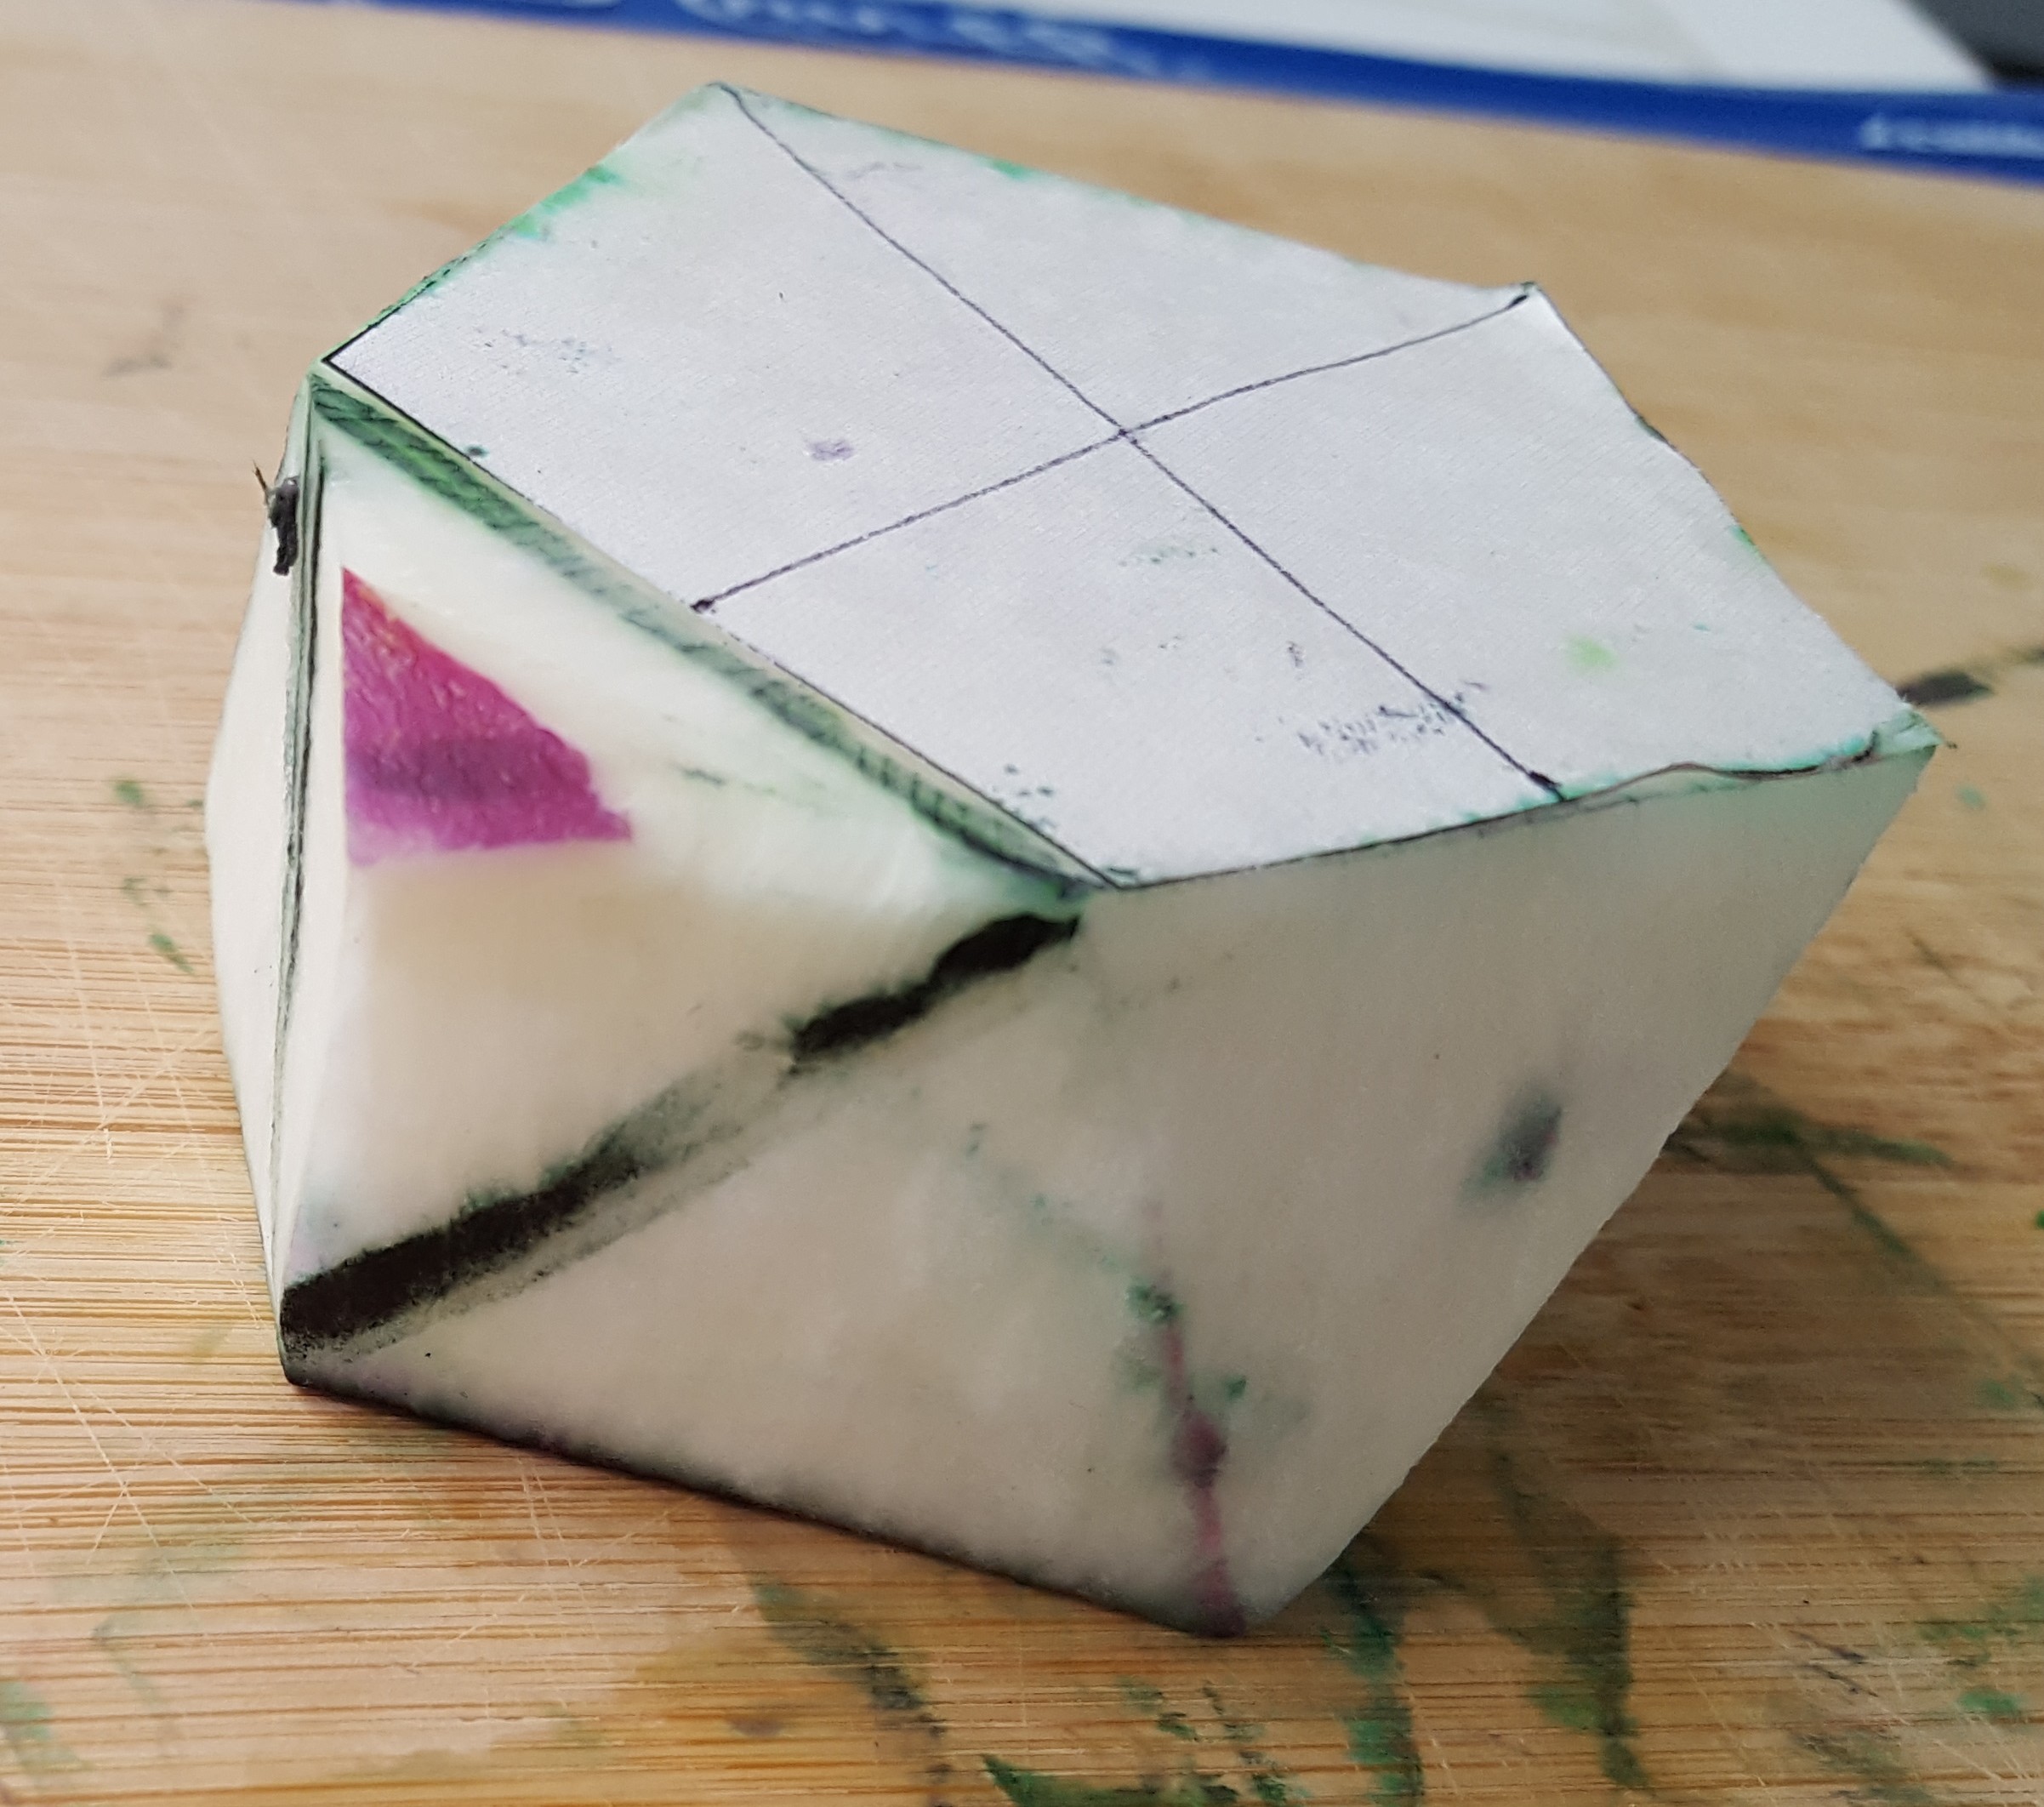
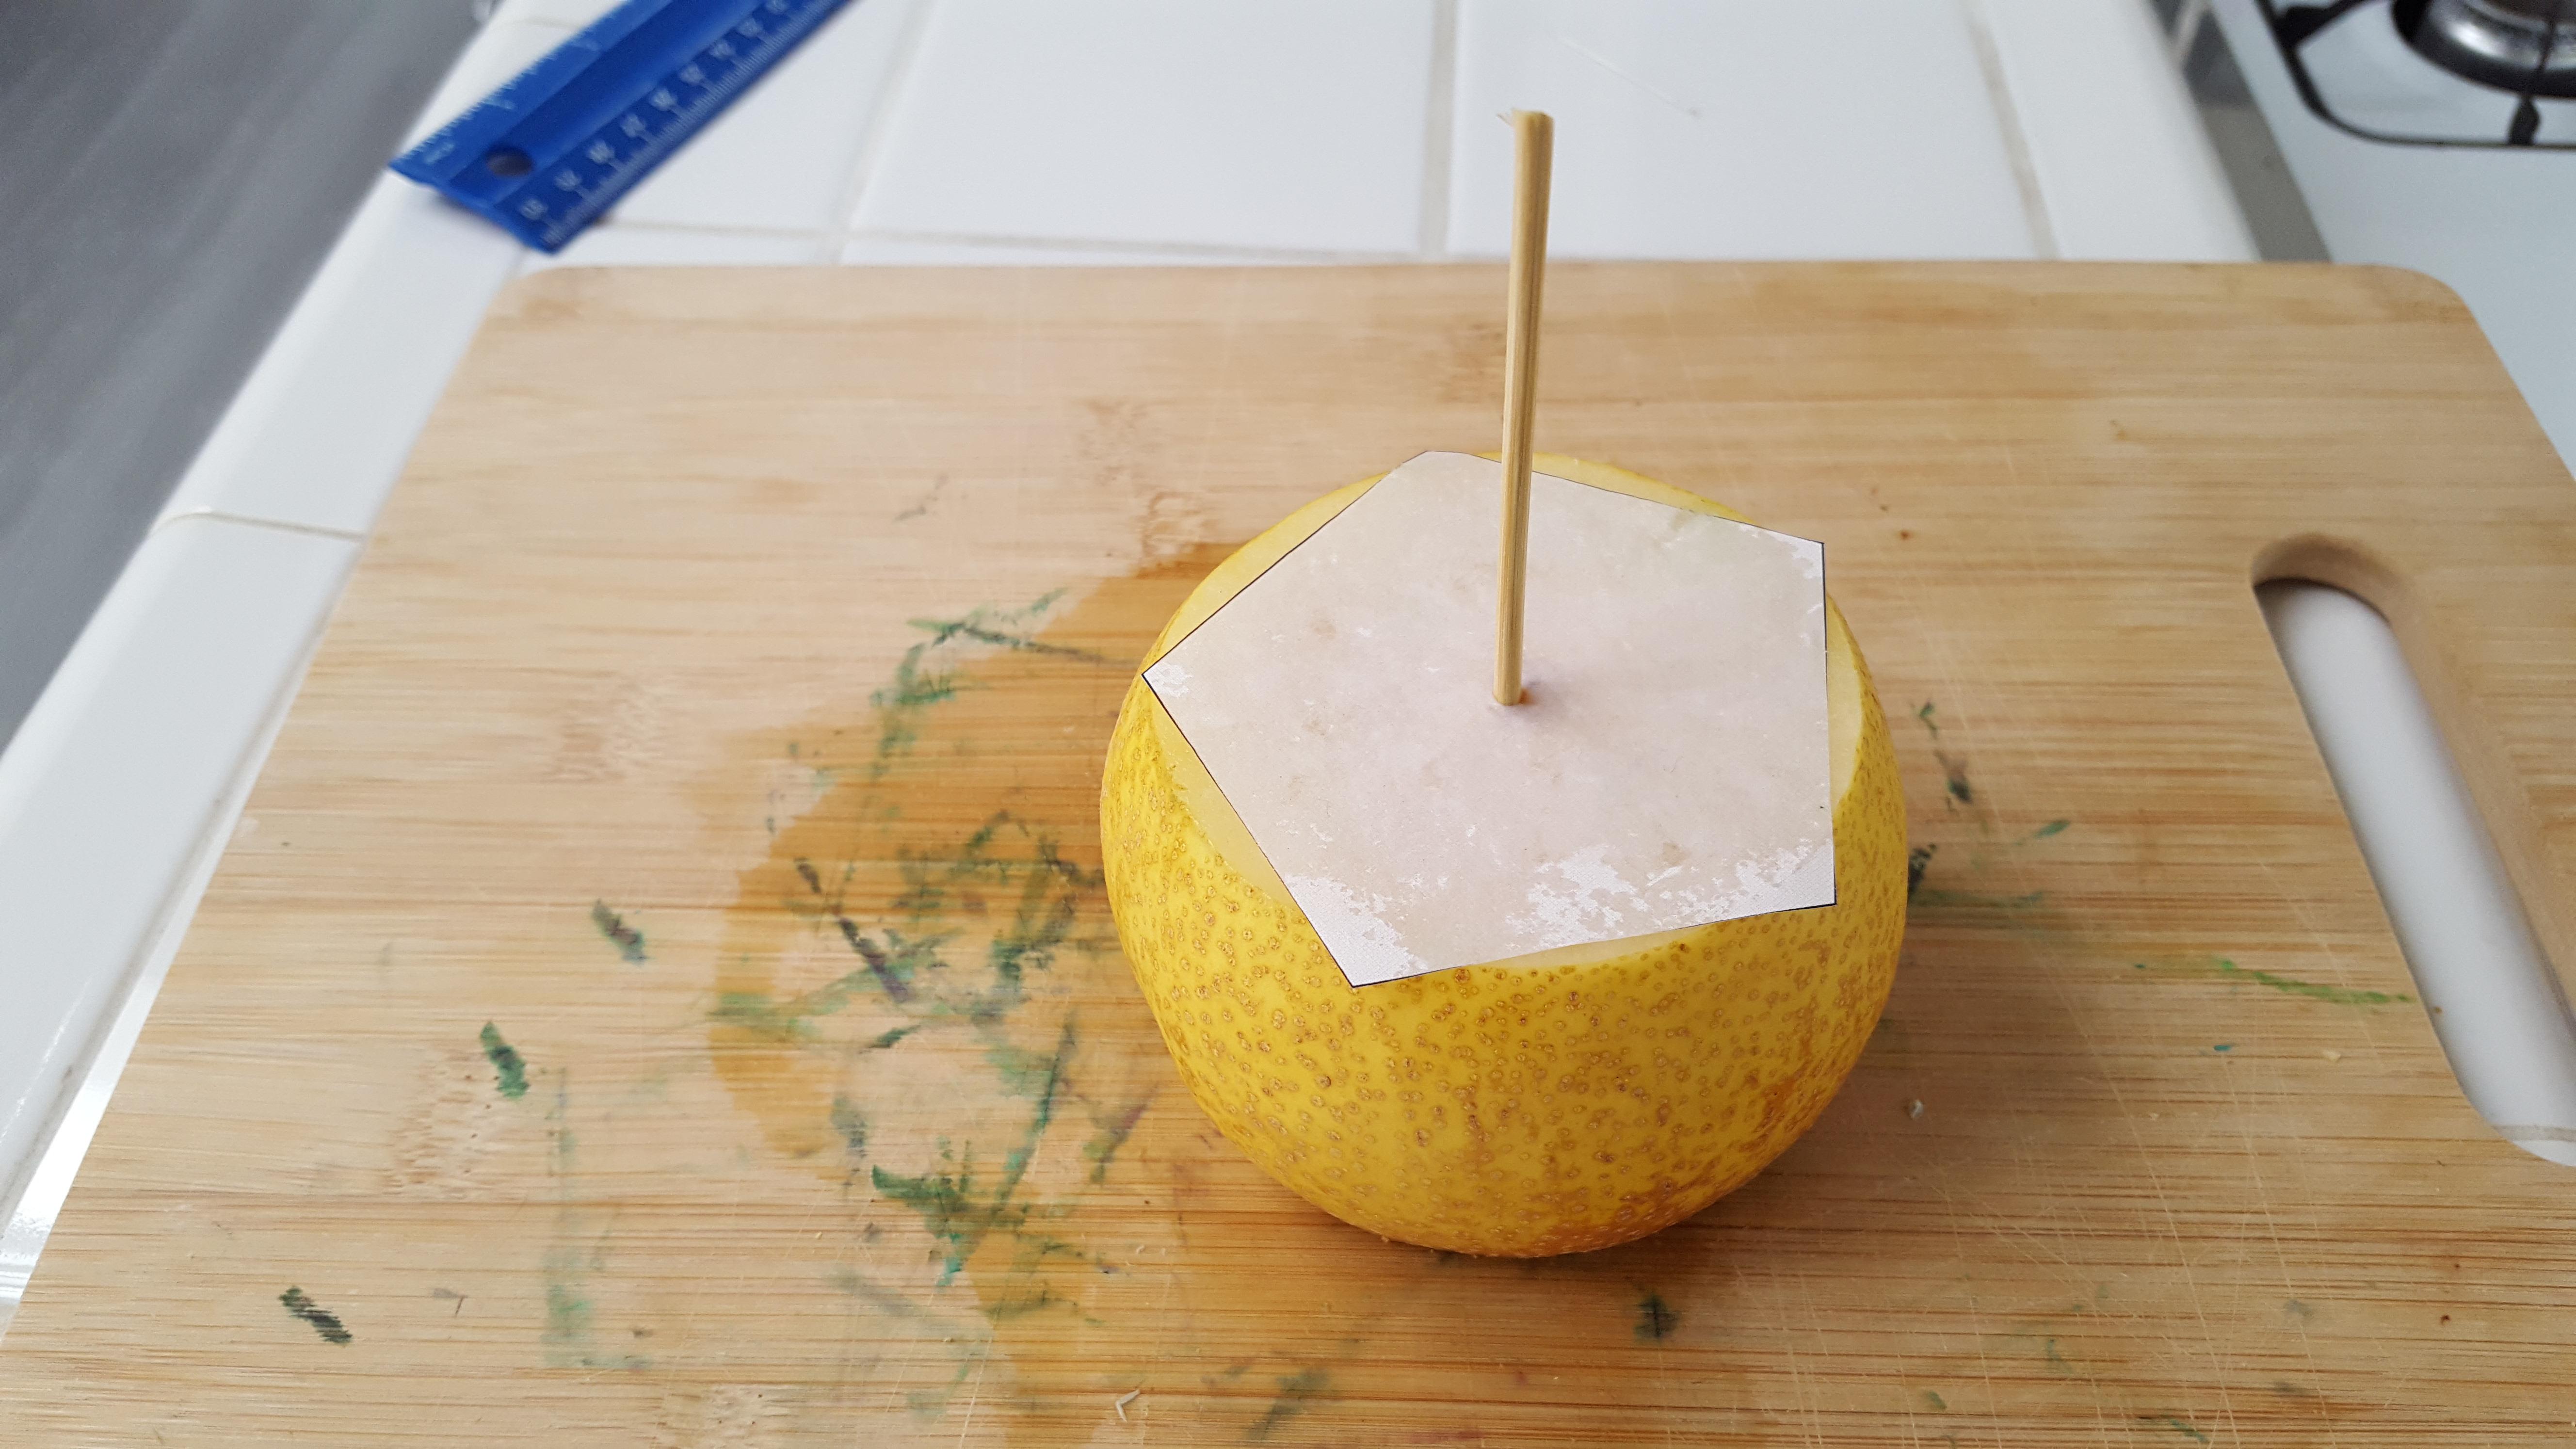
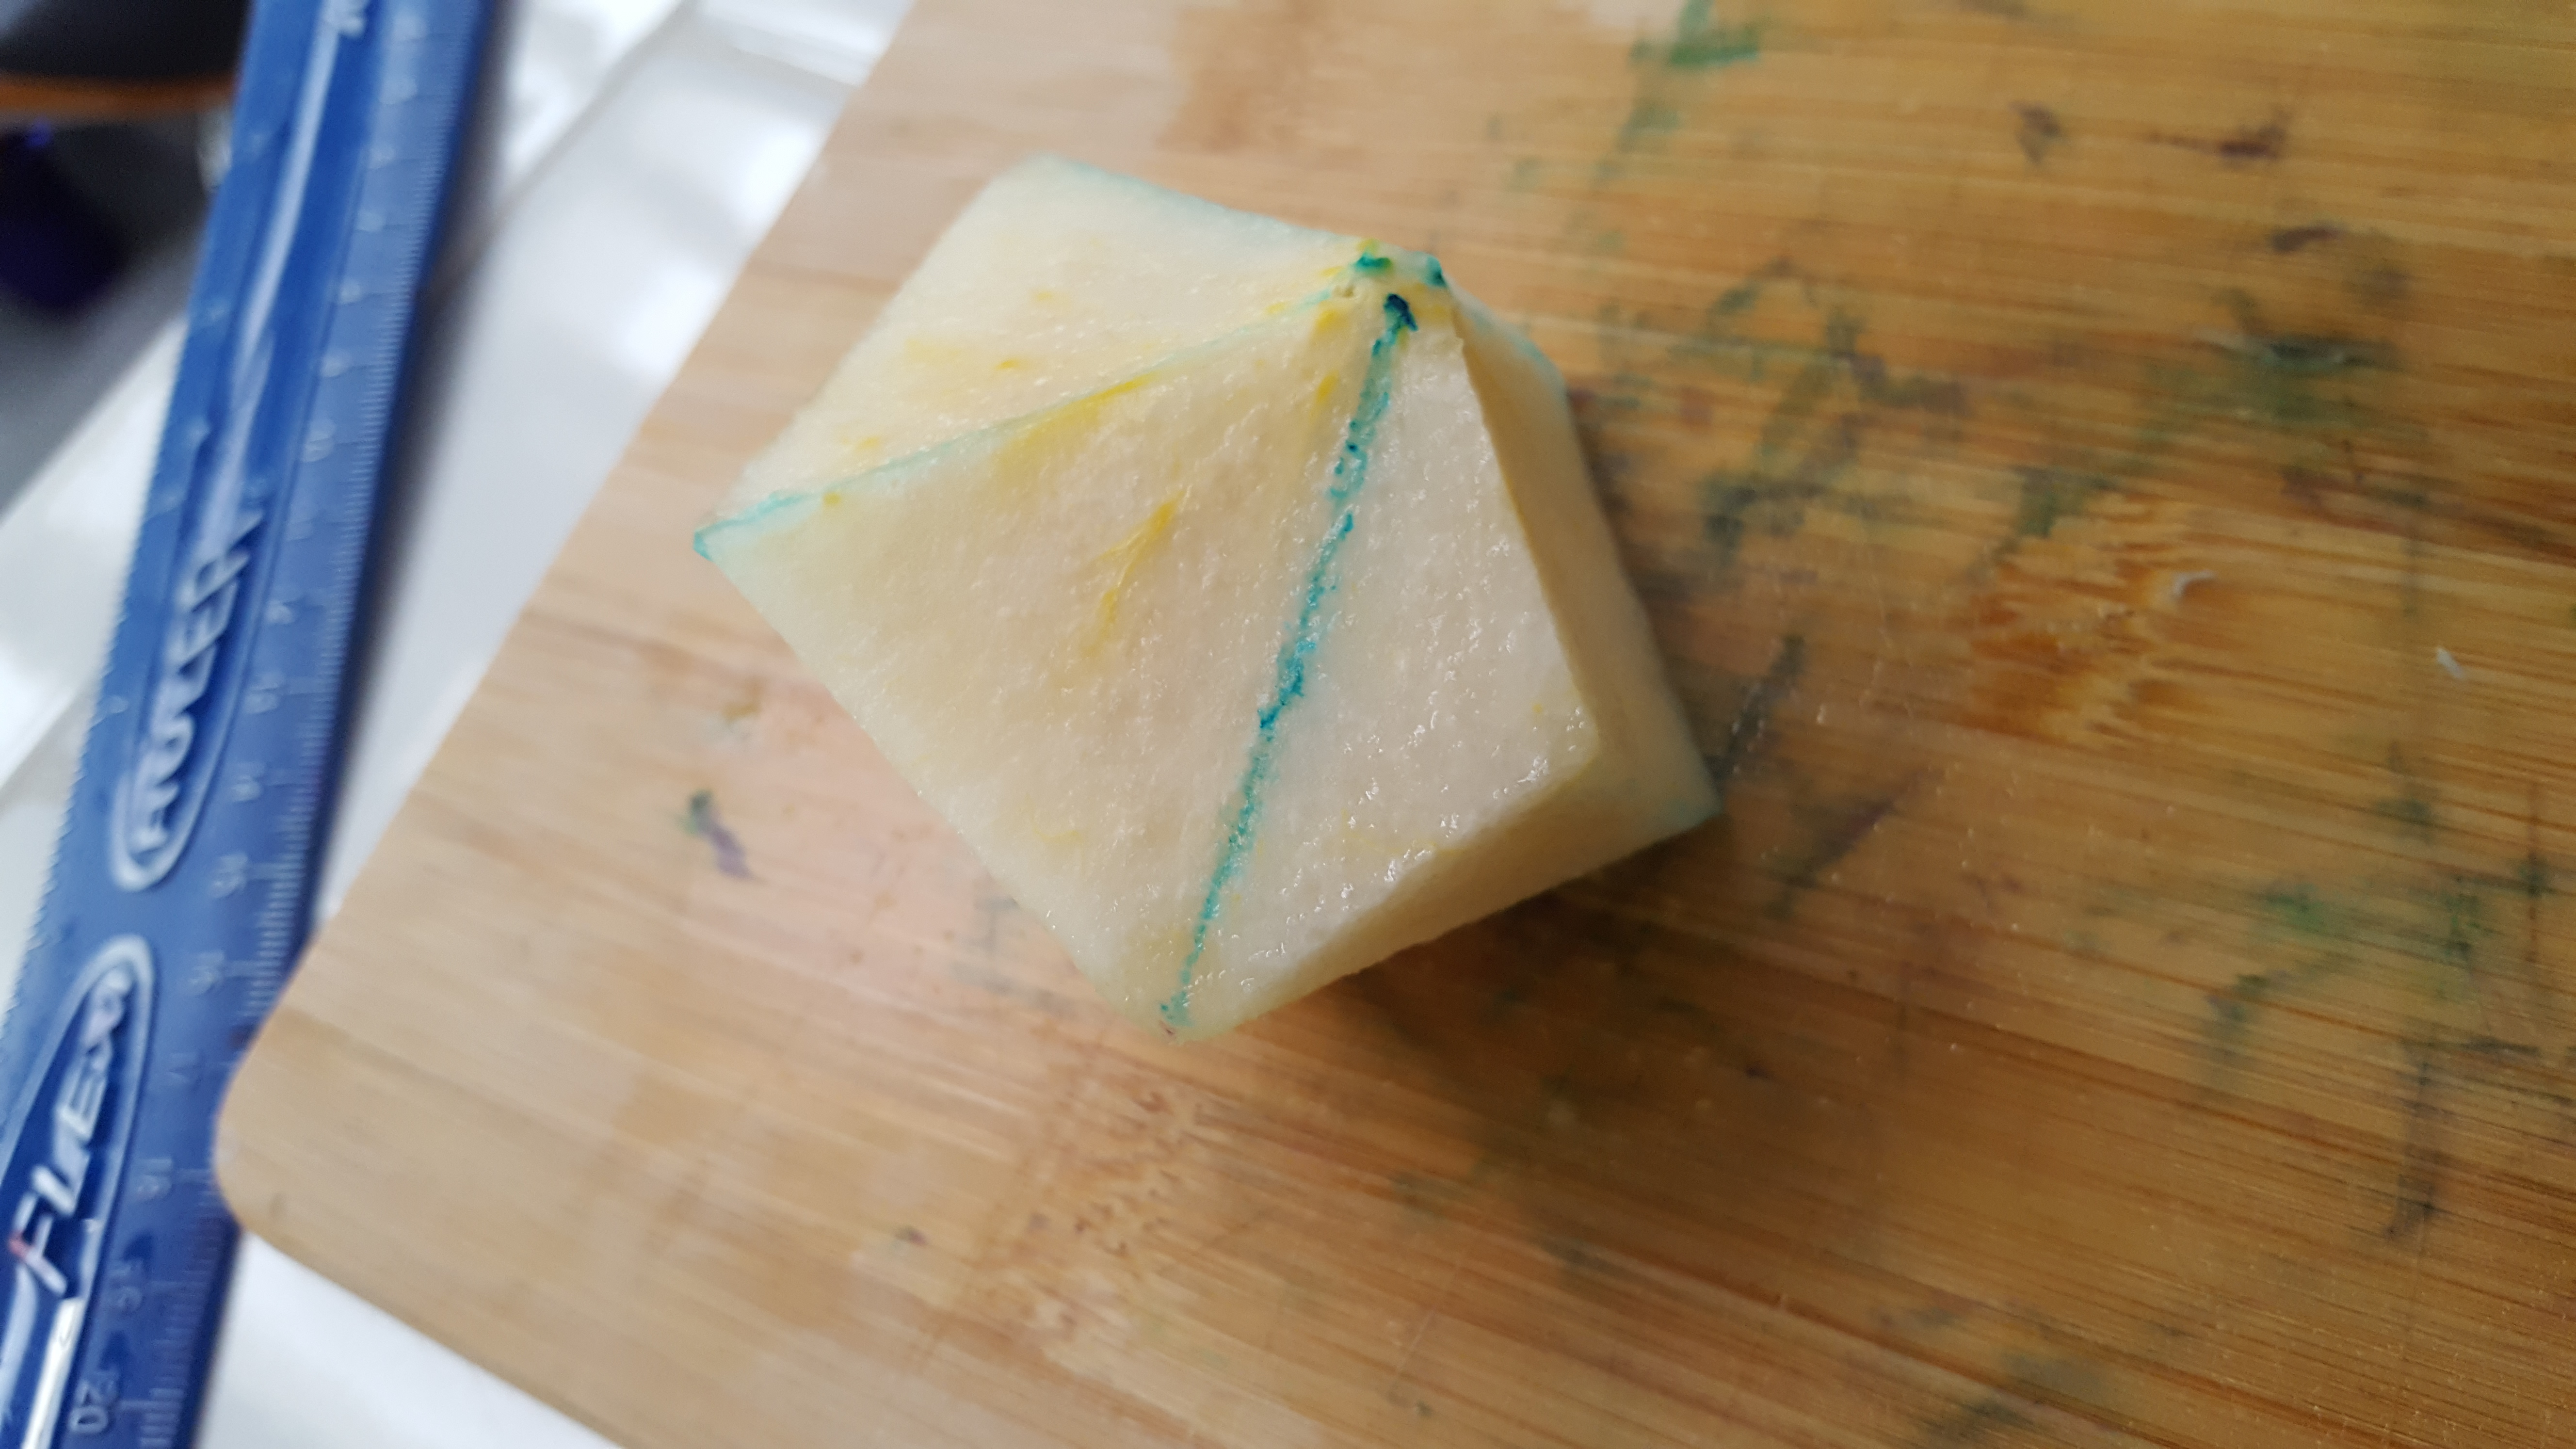
  regular pentagonal antiprism, another vertex-transitive solid. Like the hexagonal prism from last time, it features two largest faces in parallel planes, so we begin the same way, with two important differences. First, we need to look up on the web what the relationship of the height and the edge length of regular pentagonal antiprism is; it turns out that the edge length is √10 / √(5+√5), or about 1.18, times the height. So once I made the first planar cut, I could determine I had about 3.5 cm of usable height left in the turnip, which implied an edge length of the pentagonal base of 4.13 cm. Printing out a couple of regular pentagons with that edge length, I found that they fortunately fit the horizontal cross-section nicely.
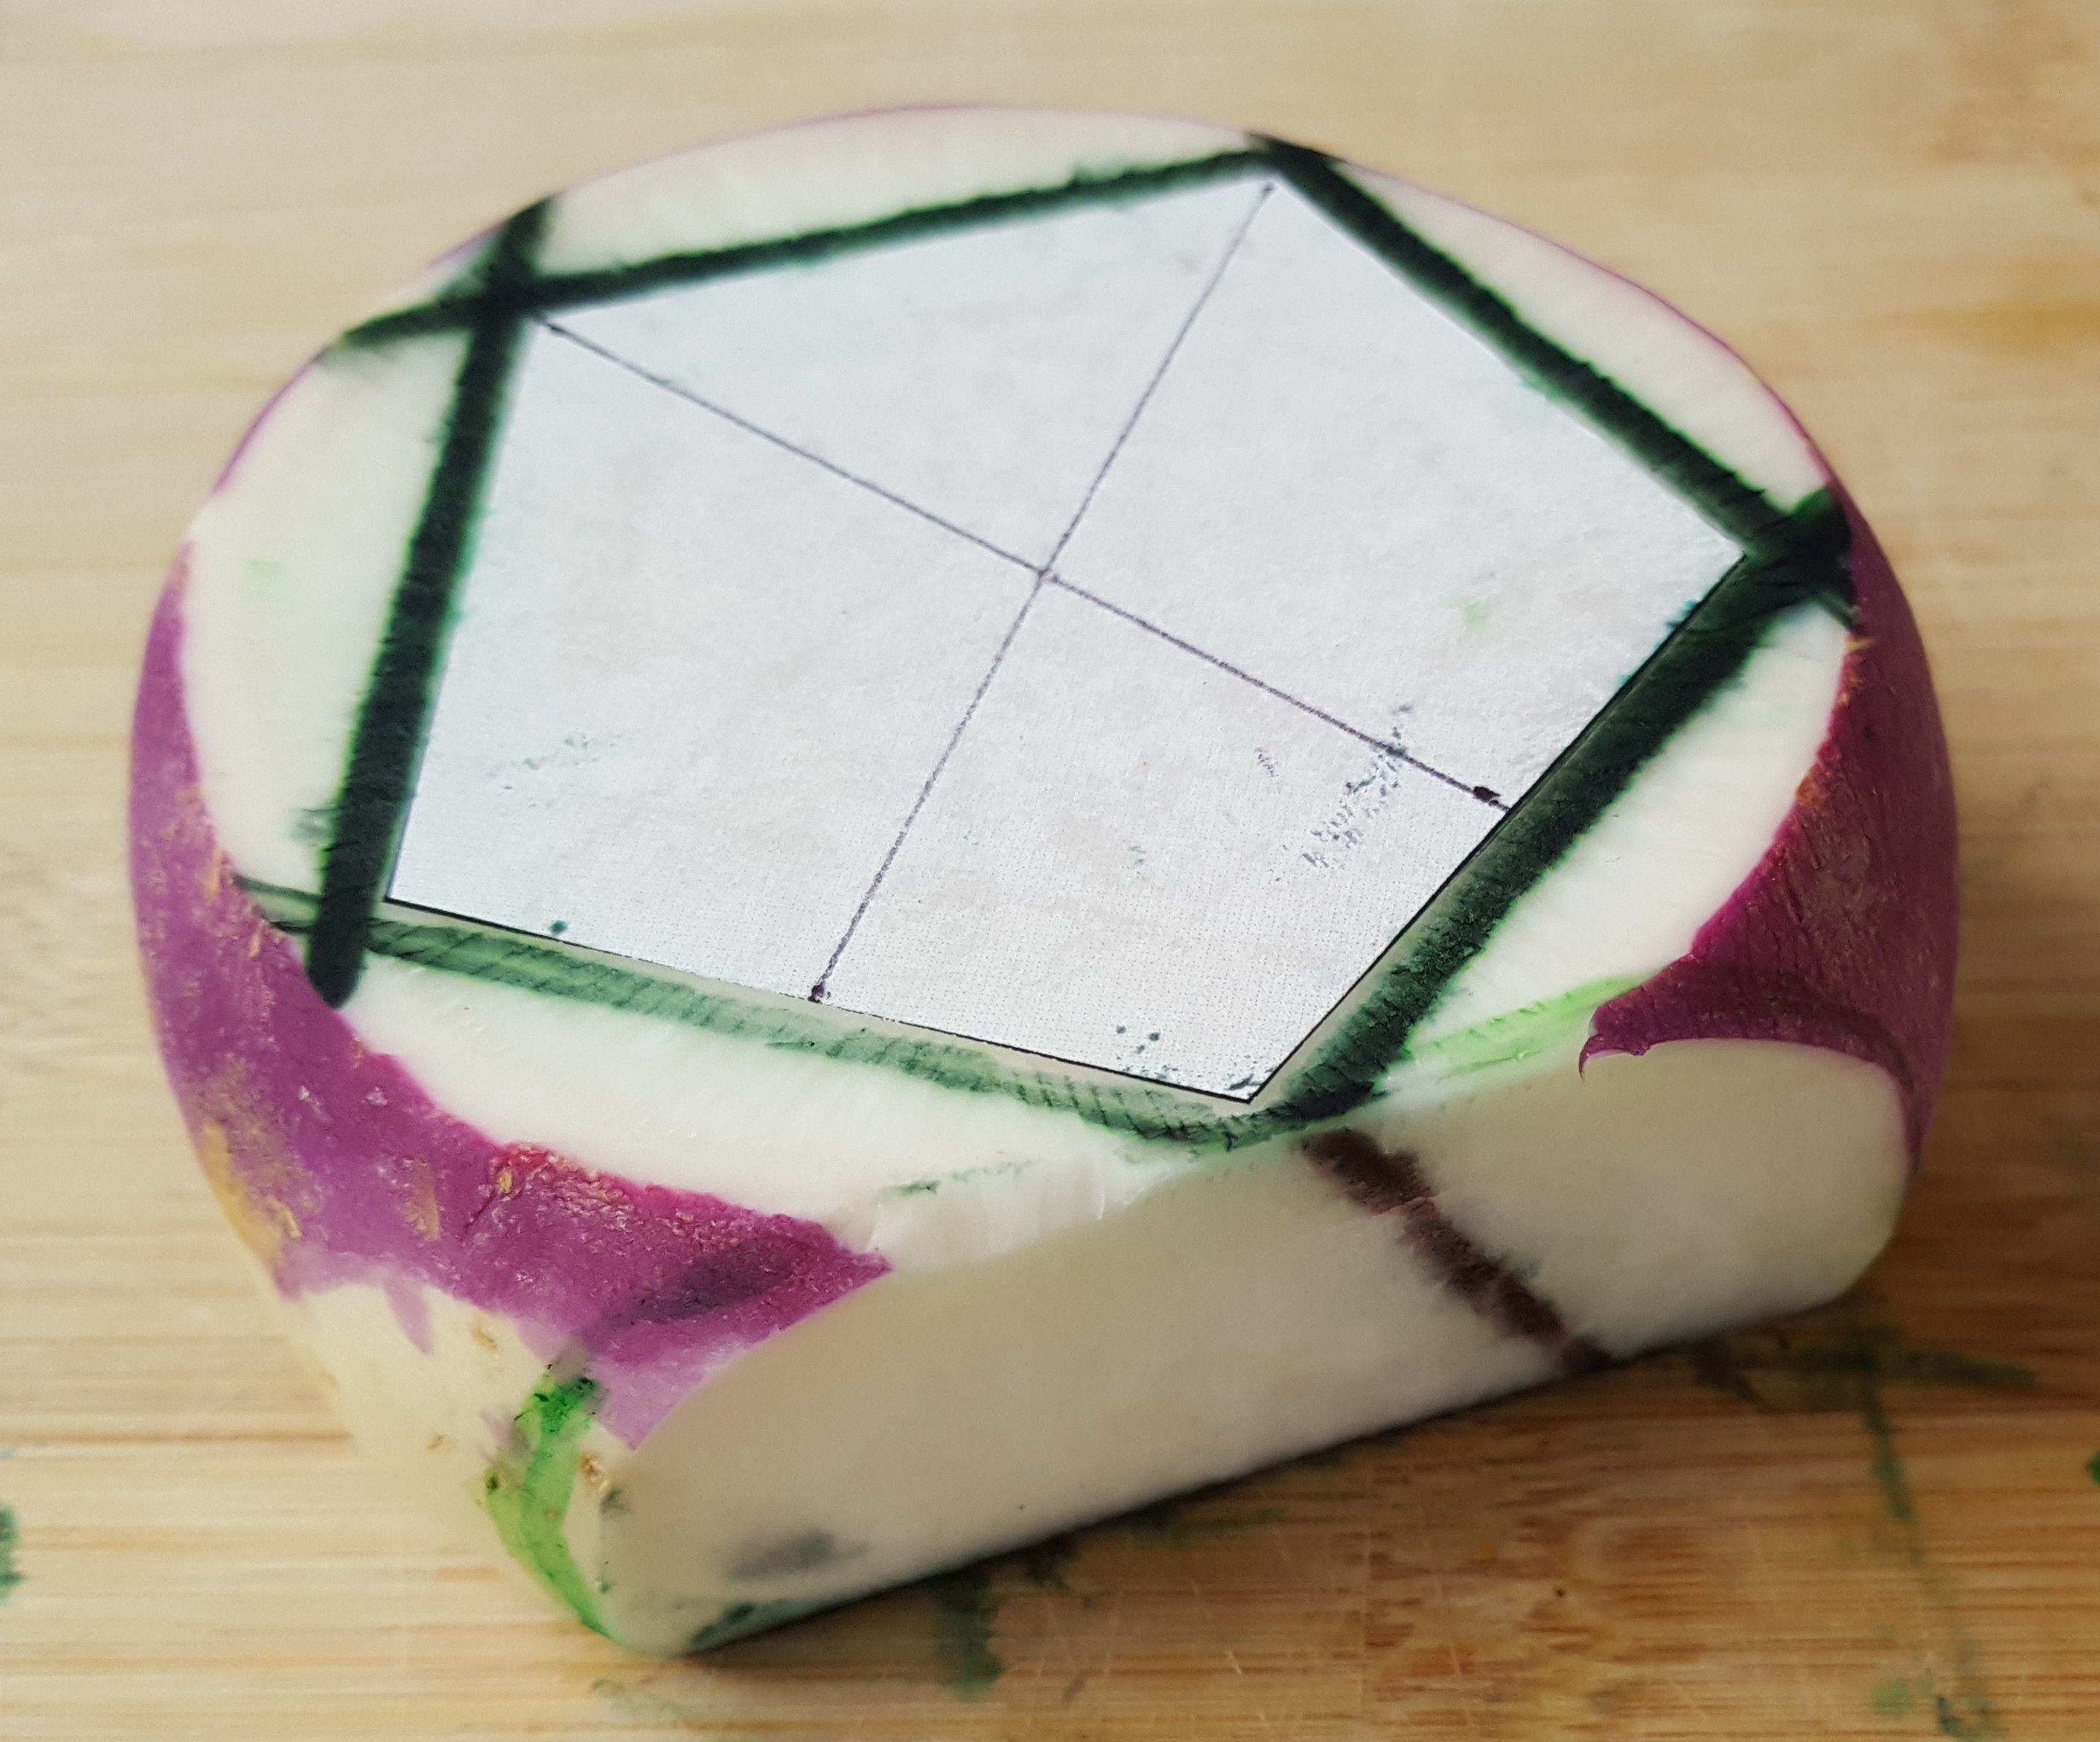
The second difference is that once you’ve made the two parallel planar cuts, you need to line up the pentagons on either 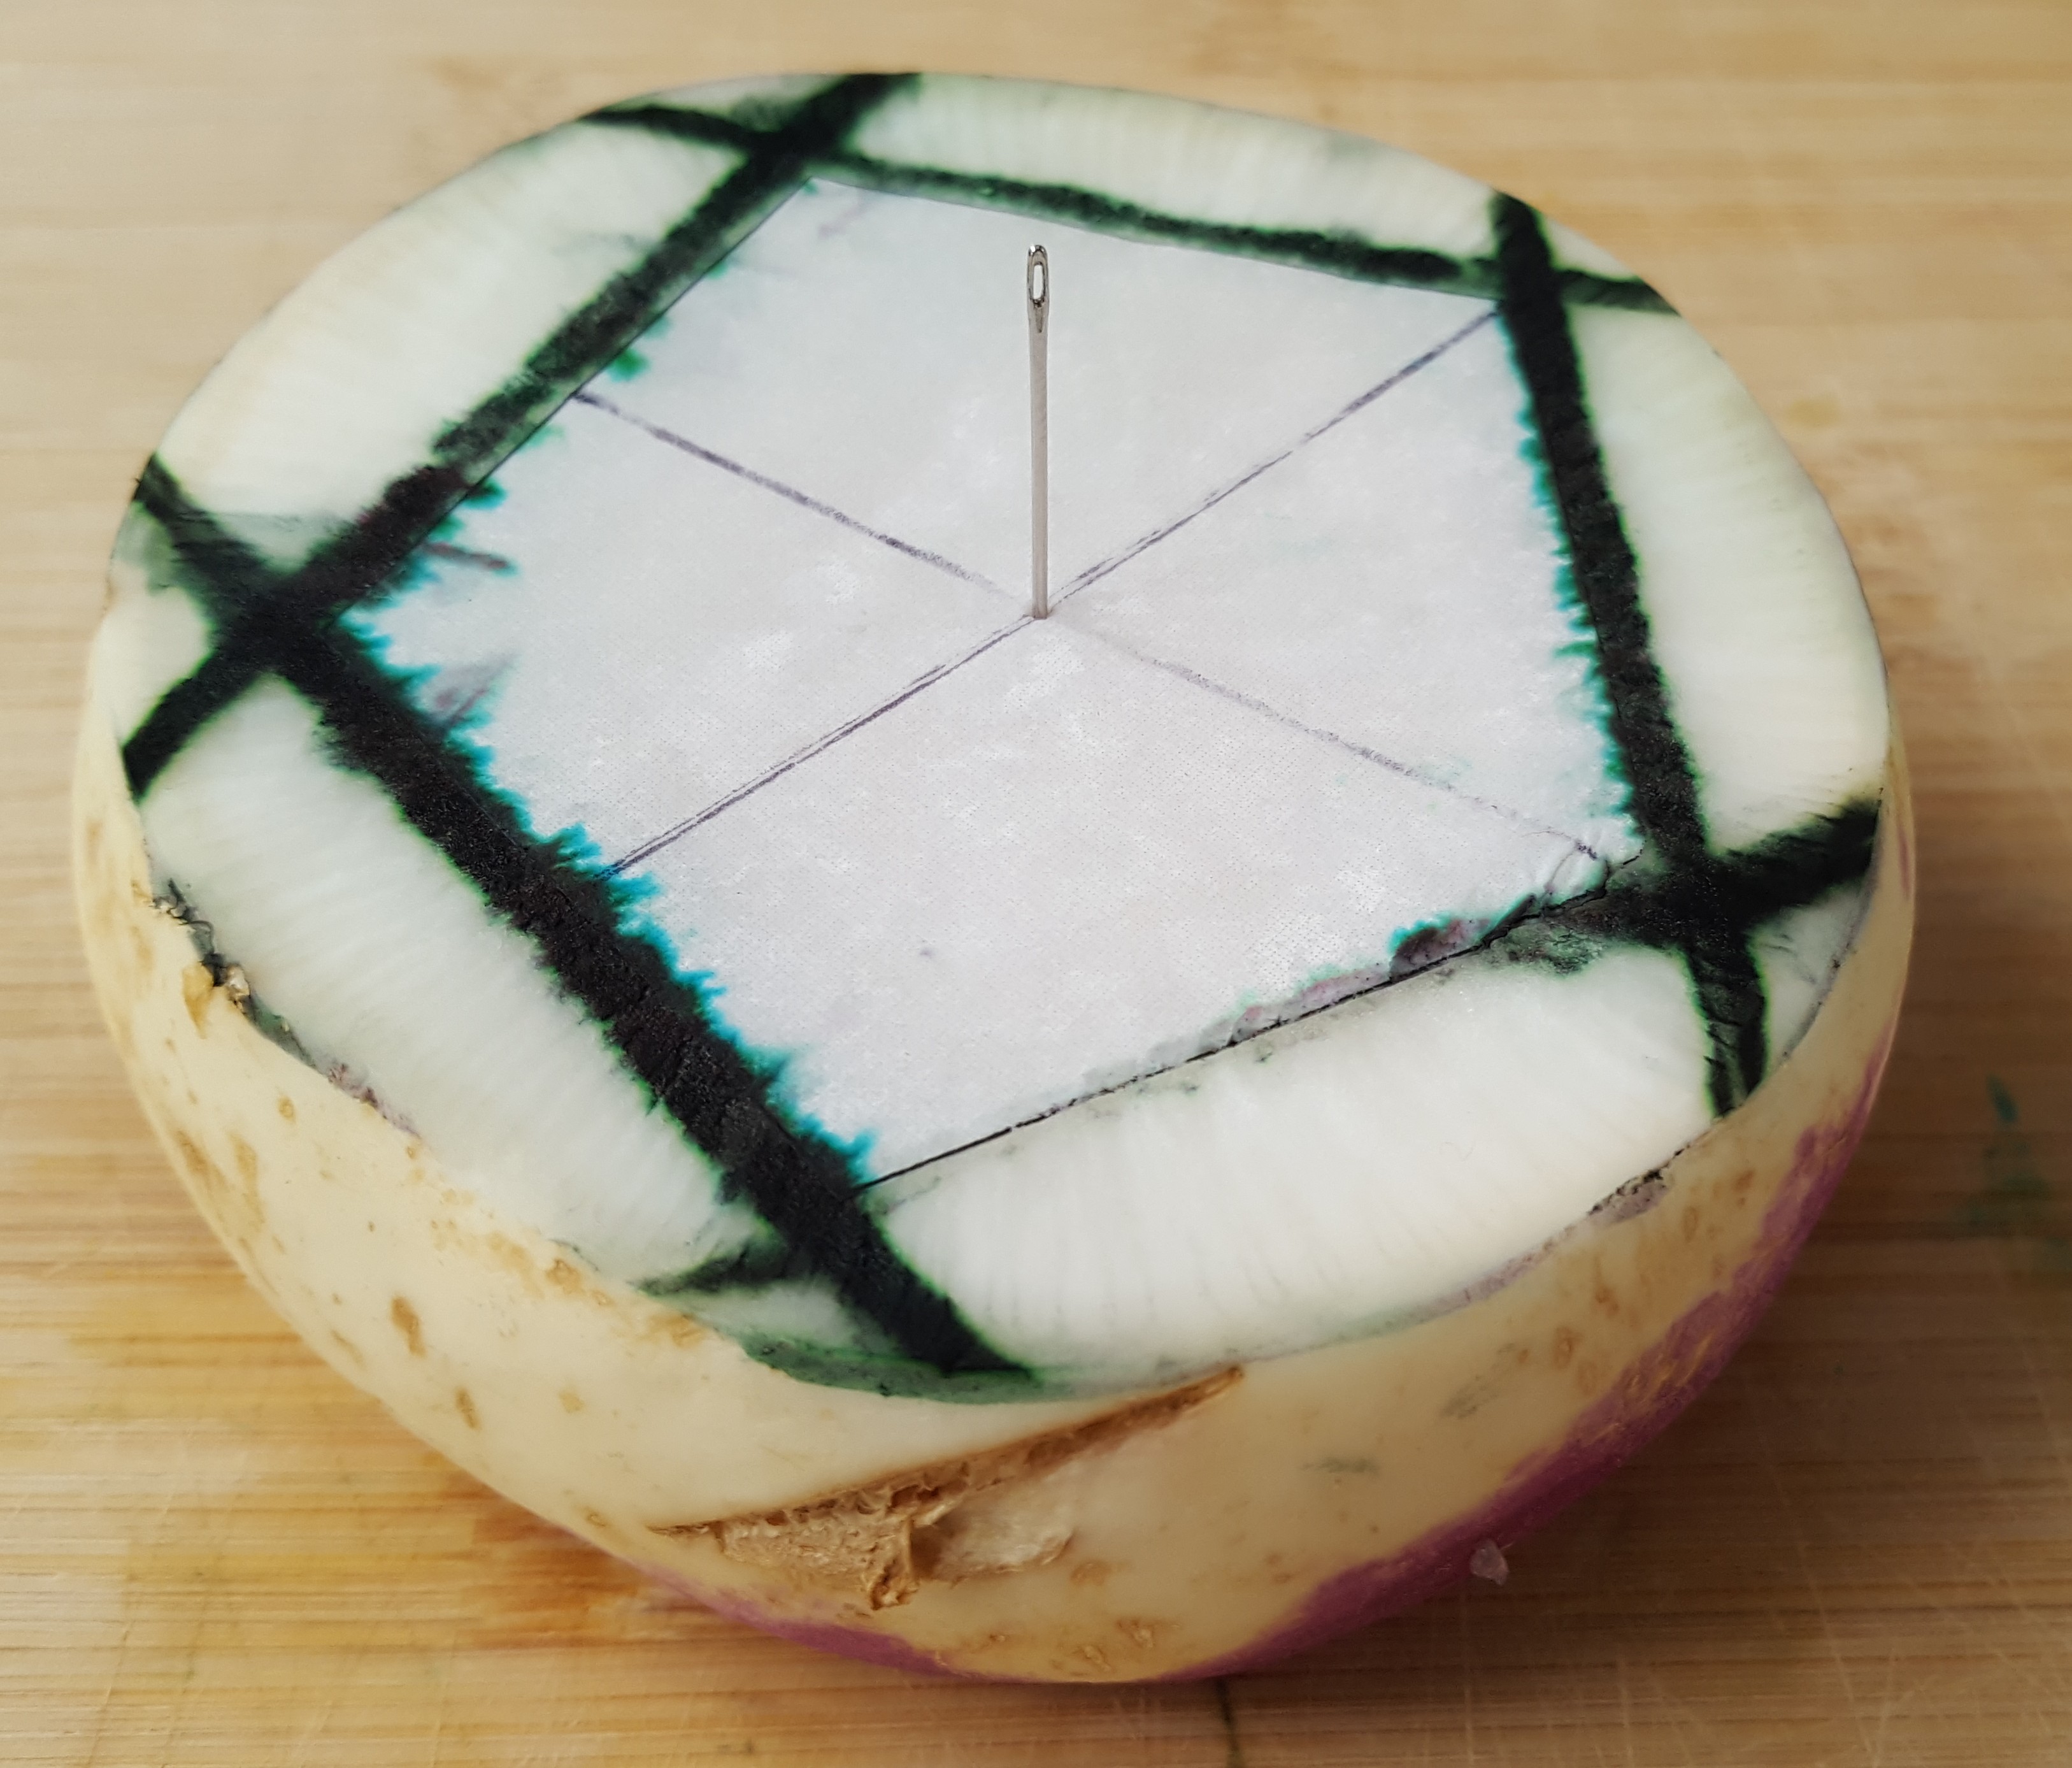 side with a tenth of a turn rotation relative to each other. In other words, rather than having them line up exactly as with the prism, each corner of one pentagon should point exactly toward the middle of an edge of the pentagon on the other side. The easiest way to arrange this is to mark the centers of each pentagon, which will still line up one center vertically above the other, and push a pin straight vertically through the fruit and then align the two centers on the pin. Then rotate them so they are exactly half-way between aligning.
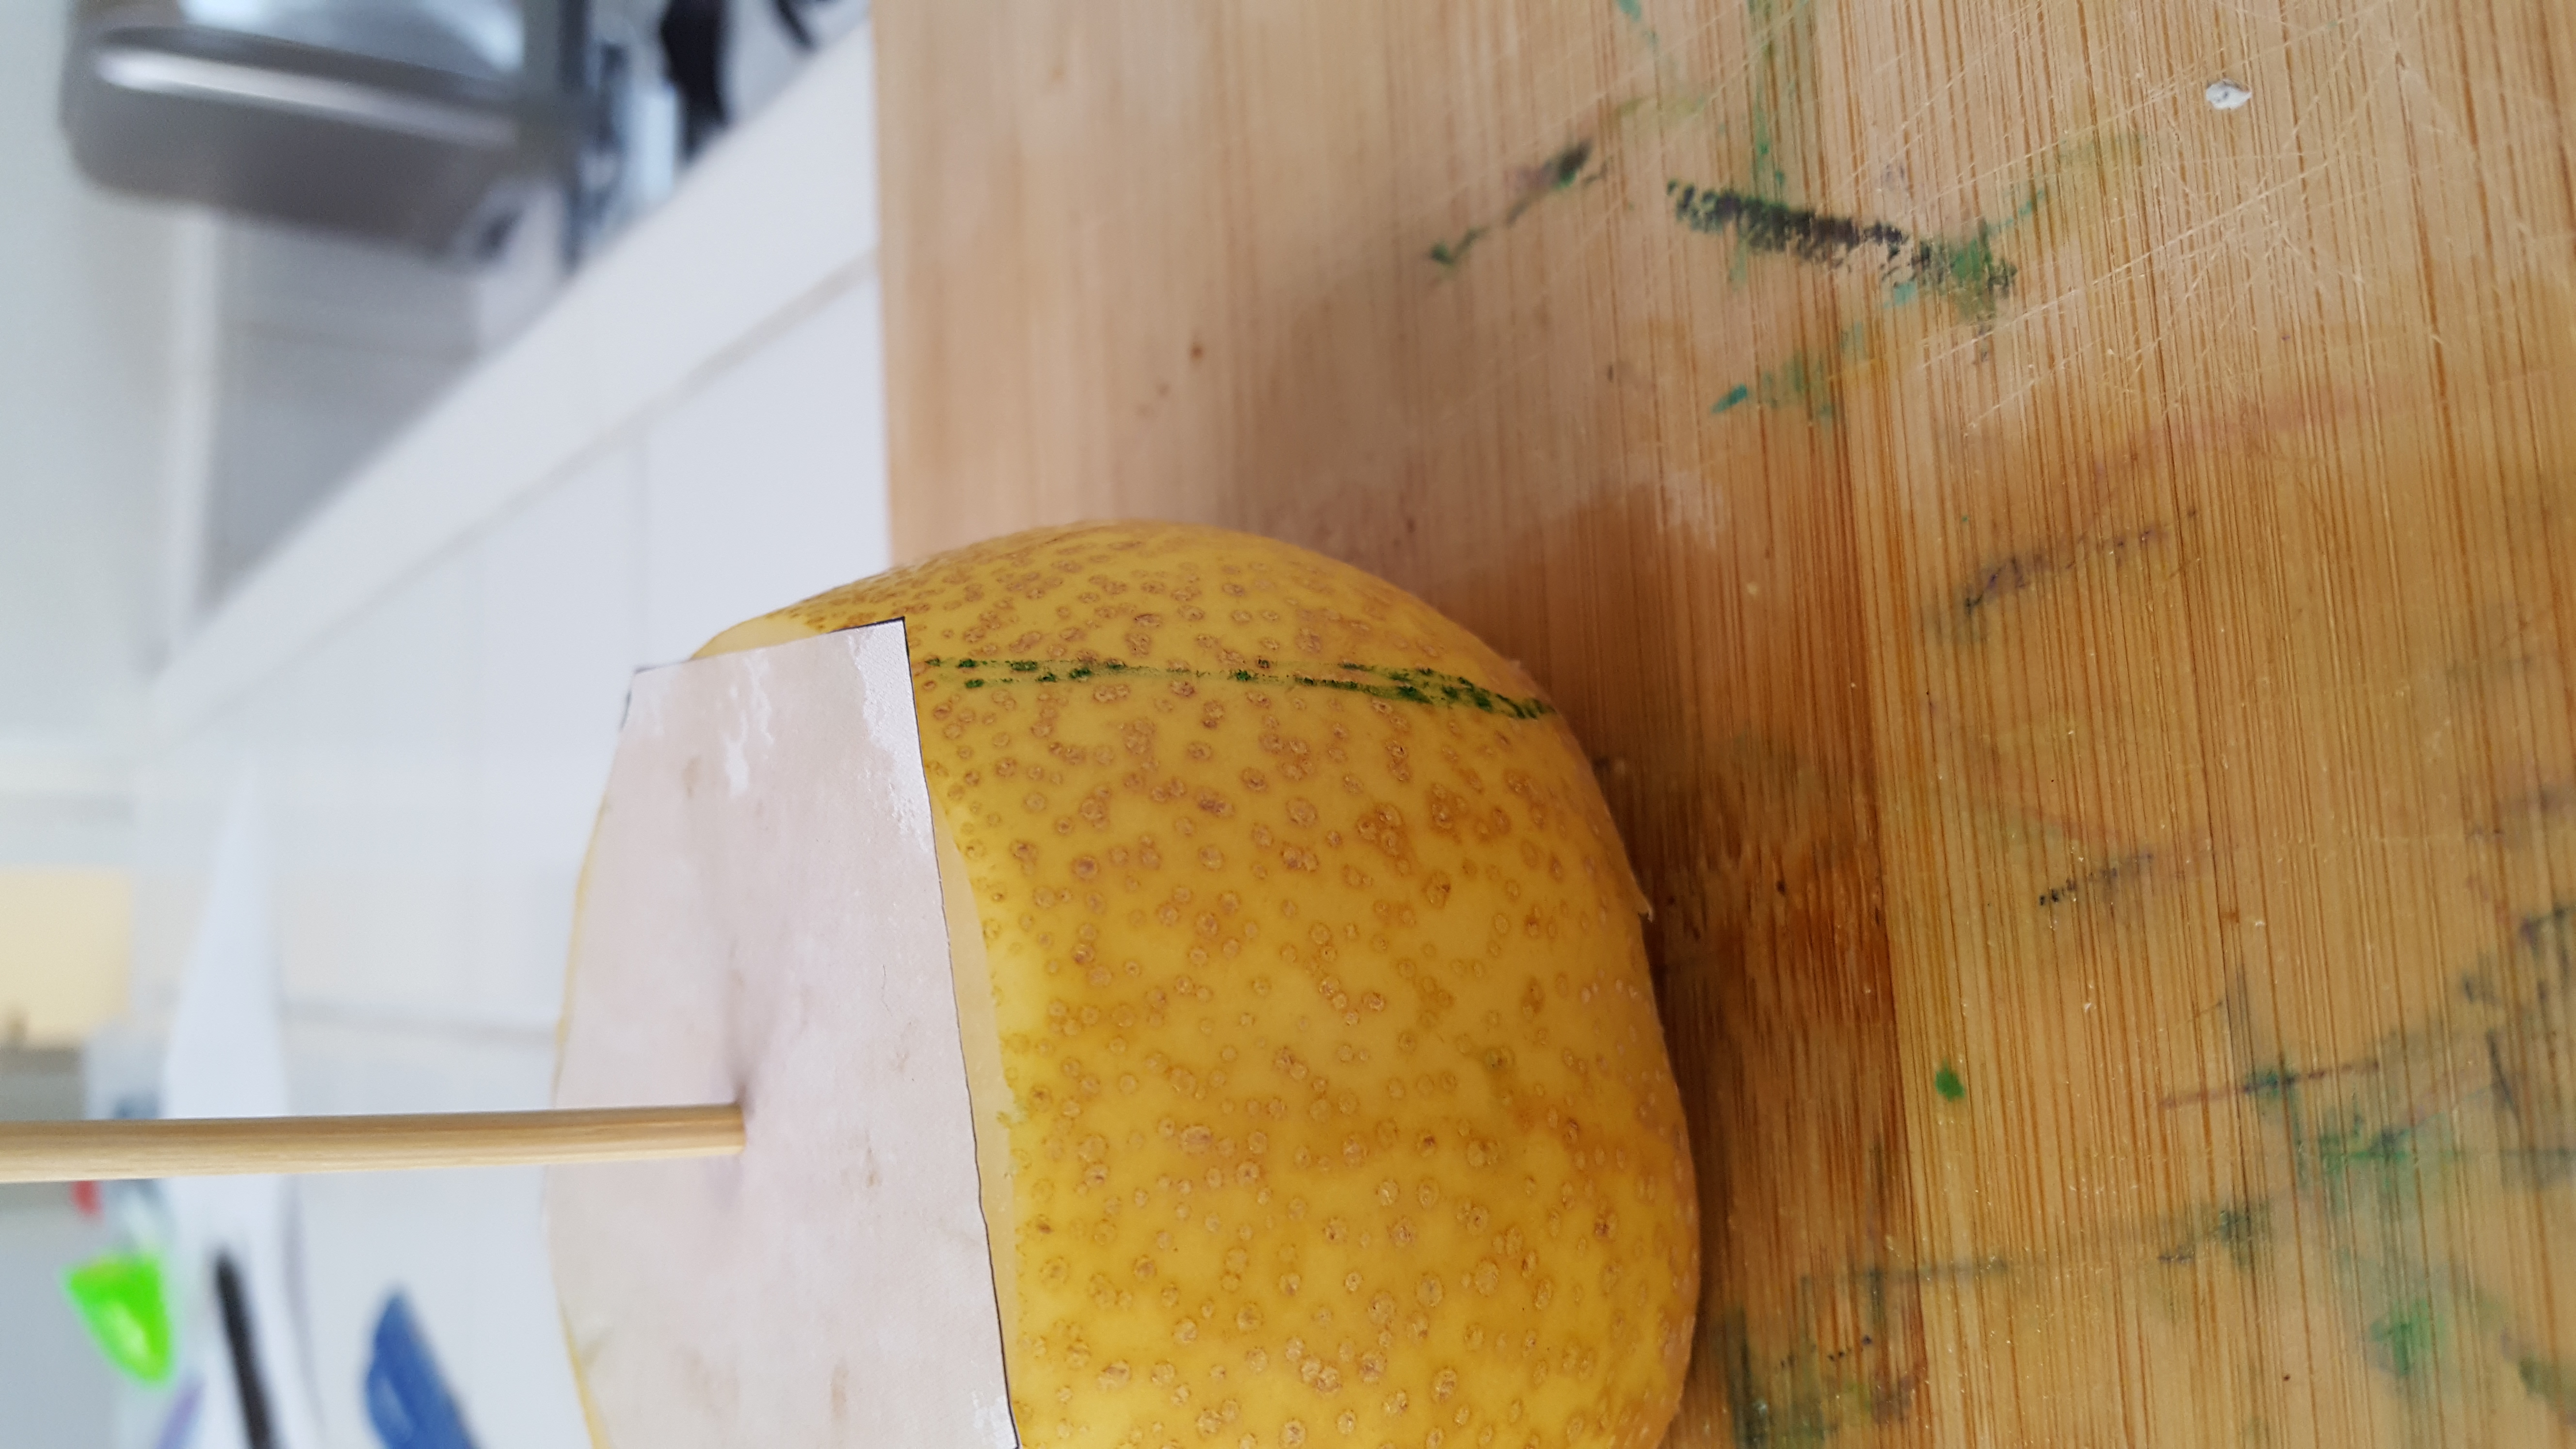
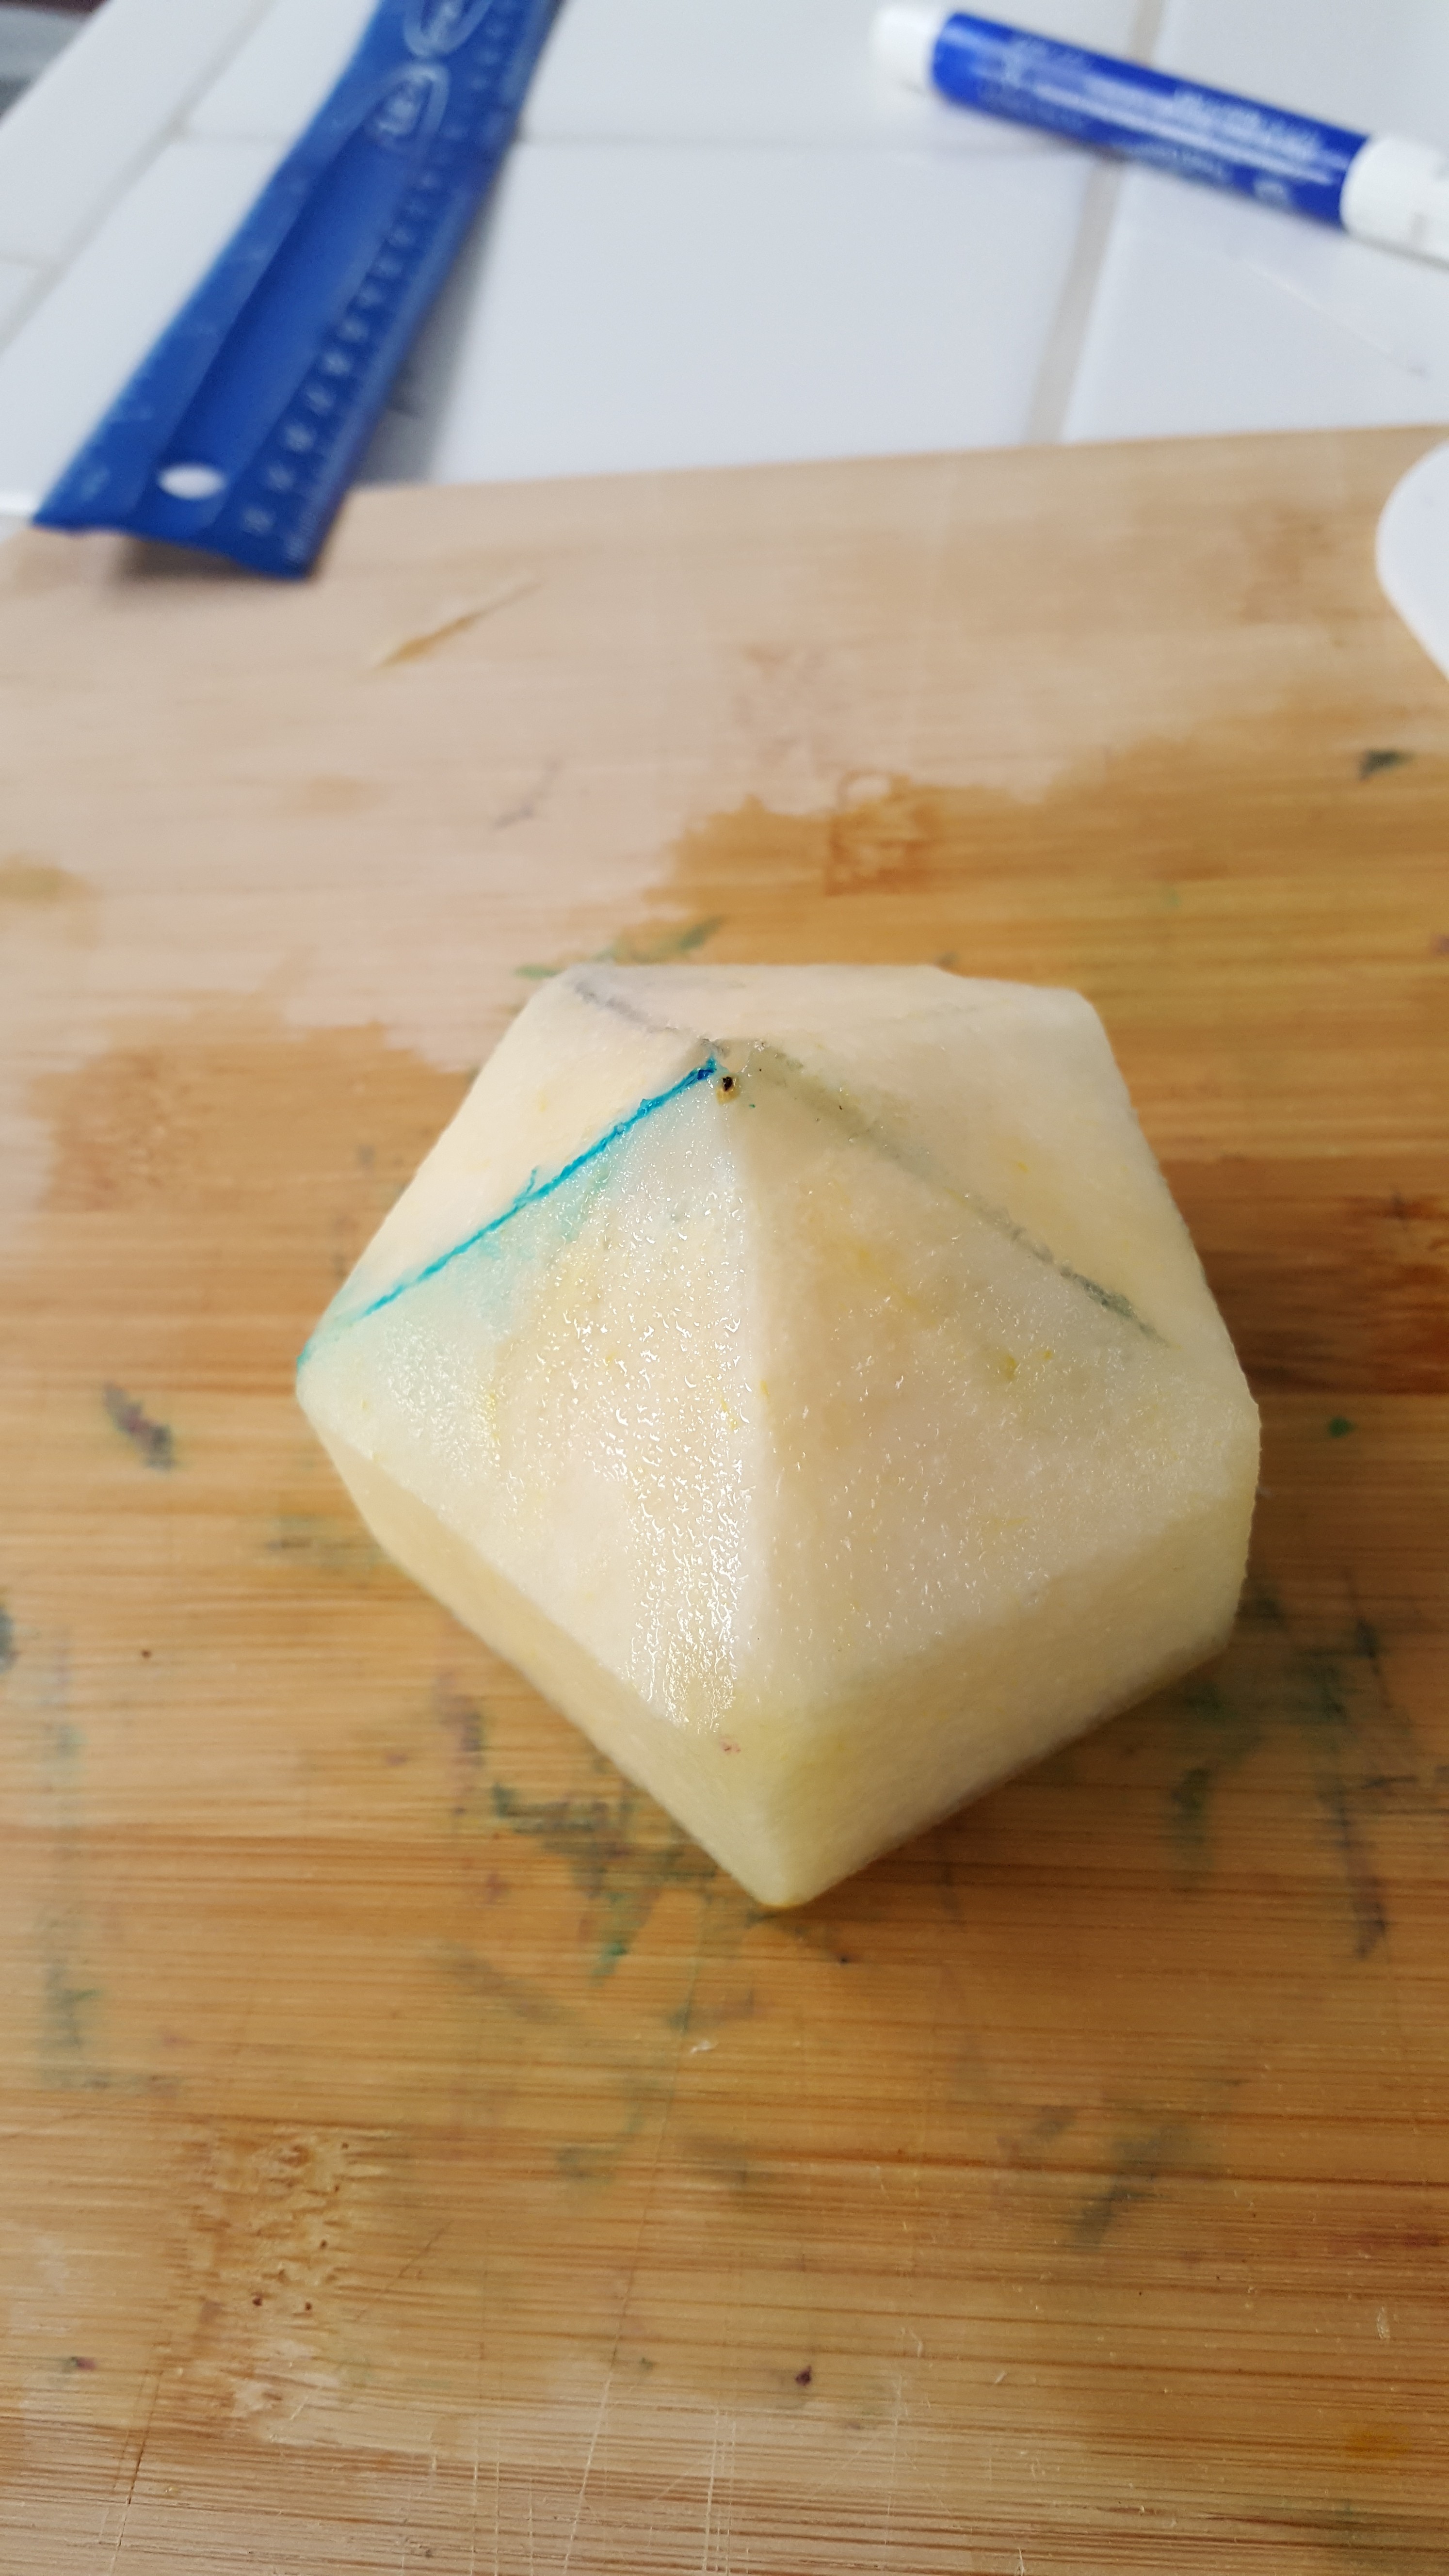
Now you can trace the pentagons on both sides of your turnip slabs. But note the cuts for 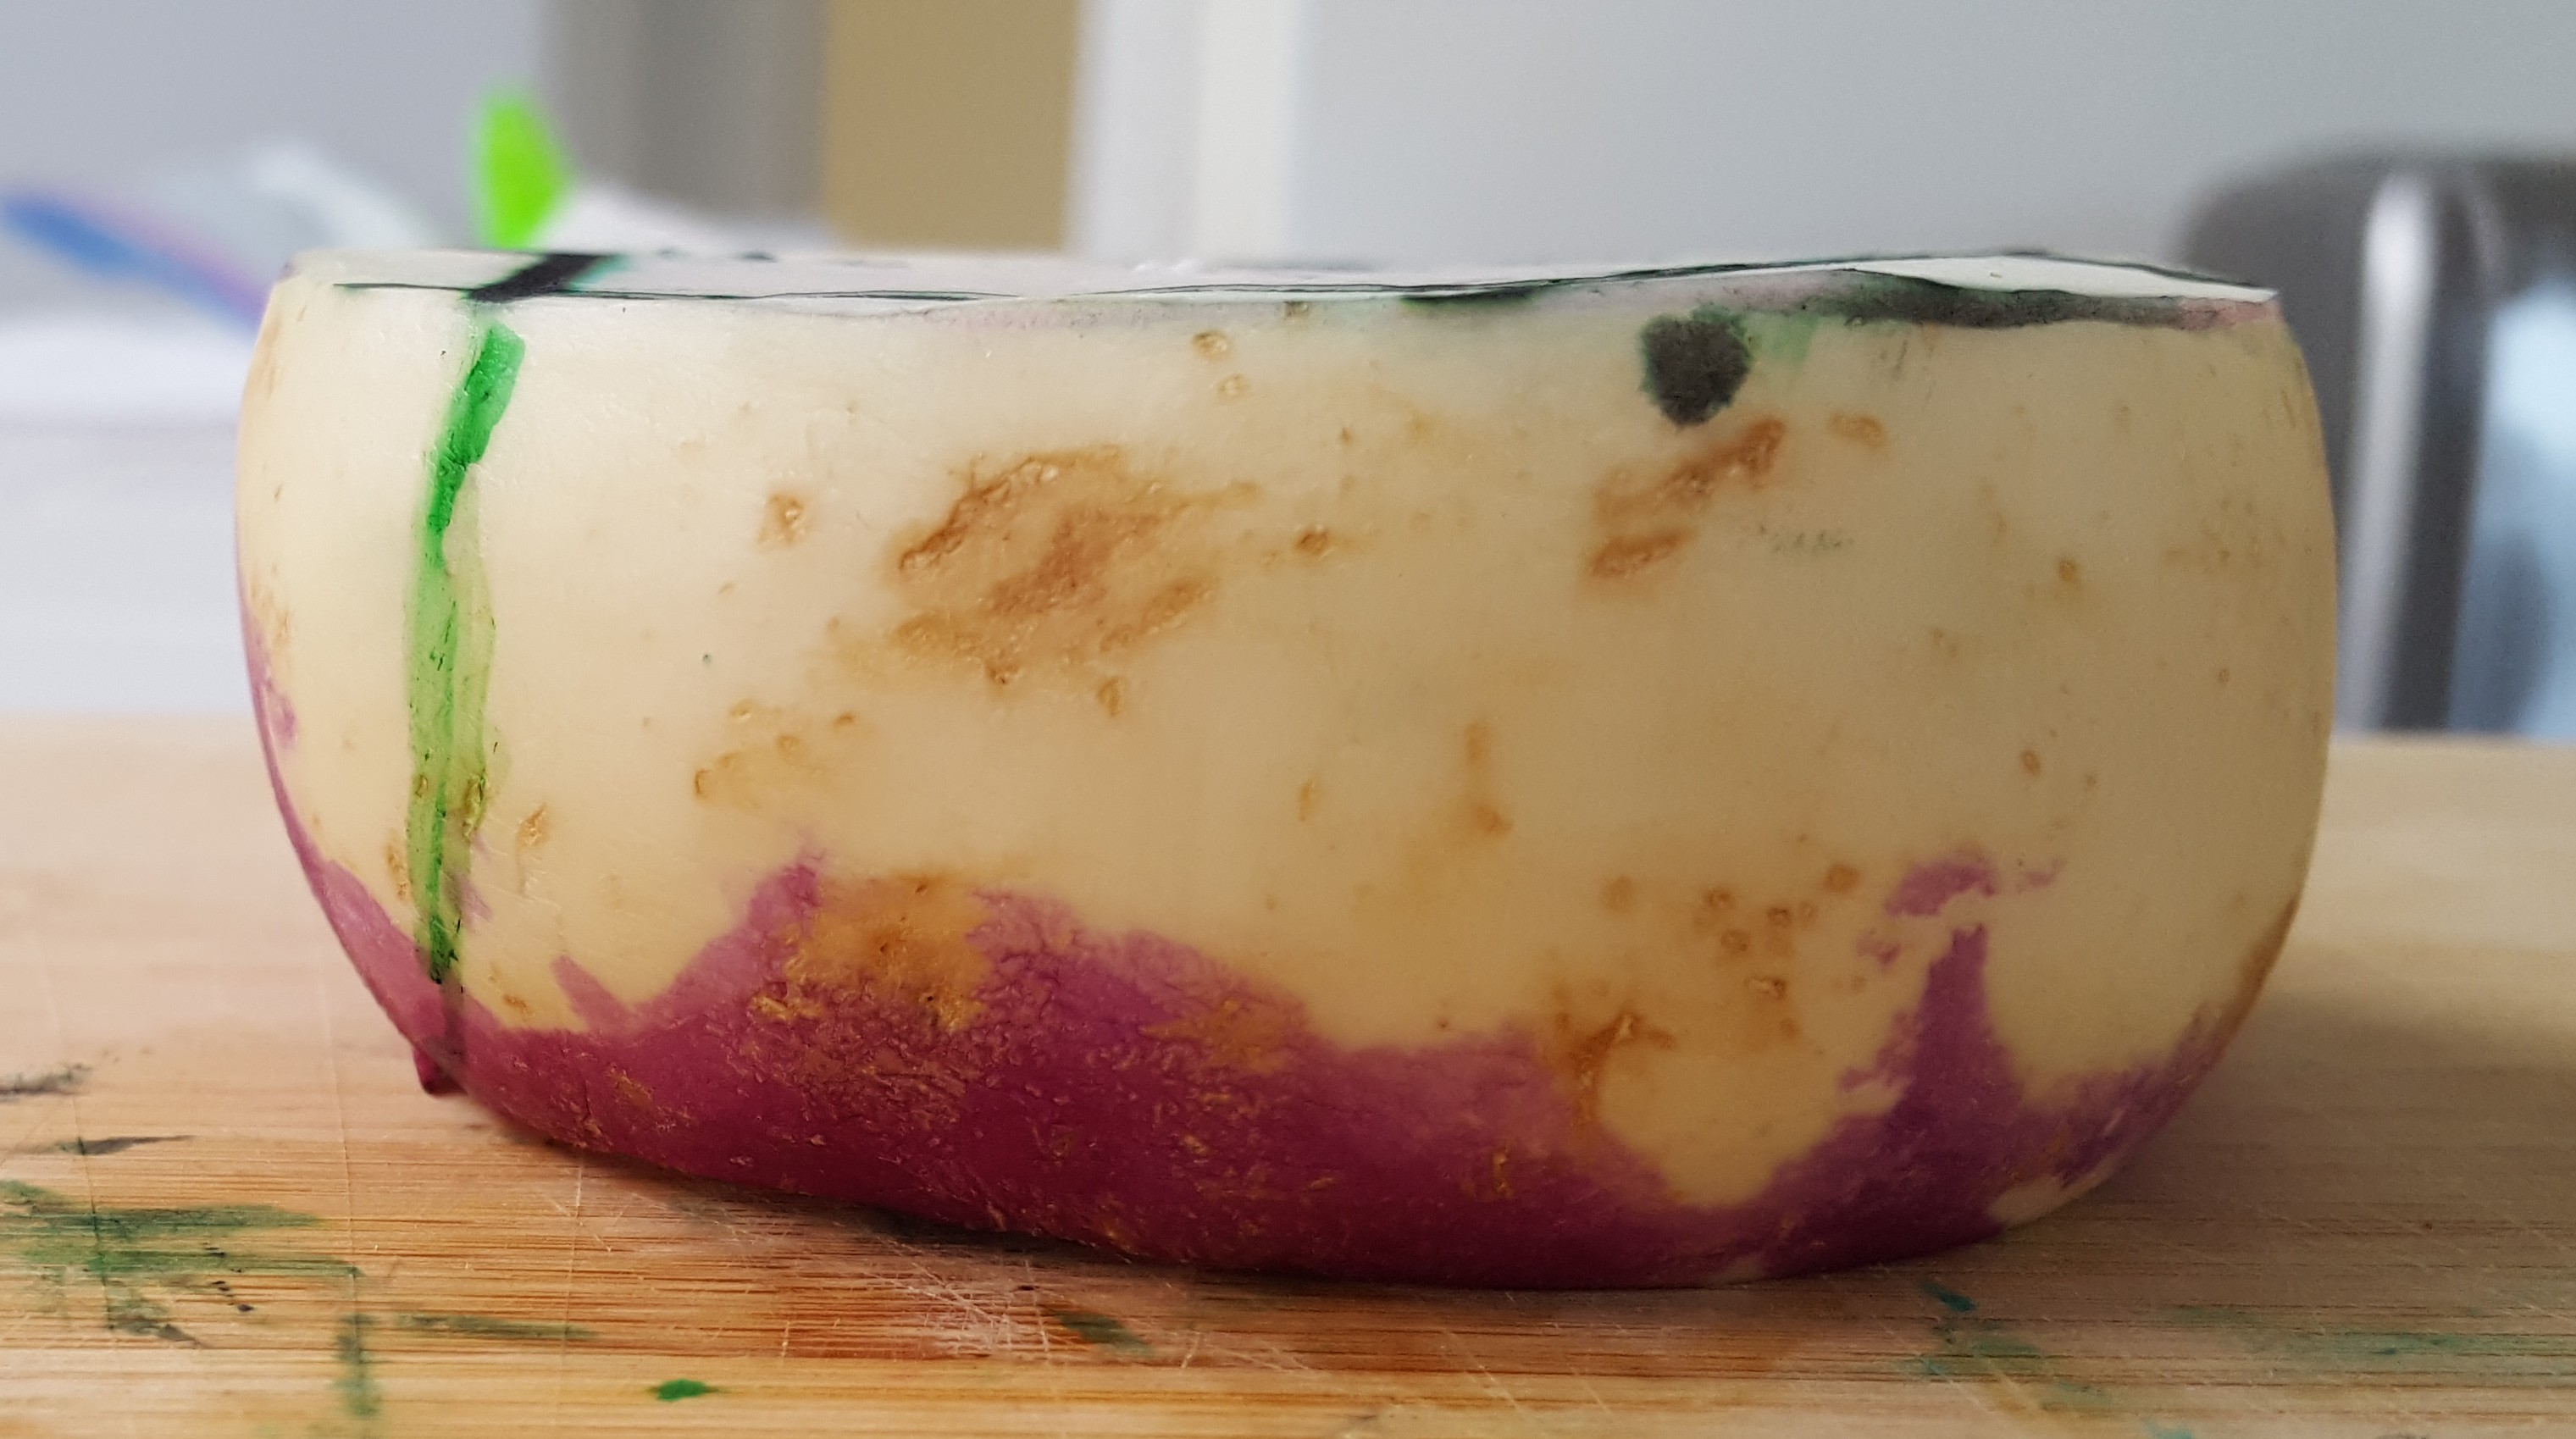 the planes of the equilateral triangle equatorial faces of the the antiprism will not be prefectly vertical — they alternate sloping slightly out and slightly in as viewed from the top. So your guide line for the first cut needs to respect that; view along one edge of the top pentagon, and do your best to draw a line on the side of the turnip which, from that perspective, will pass directly in front of one of the corners of the bottom face of the solid. Now make a flat slice along the guide lines you have drawn. You will know all is well if you have made a planar cut that passes through the selected edge of the top pentagon and one vertex of the bottom pentagon; there is only one plane that does so, and it is the plane in which one of the equatorial faces of the pentagonal antiprism lies.
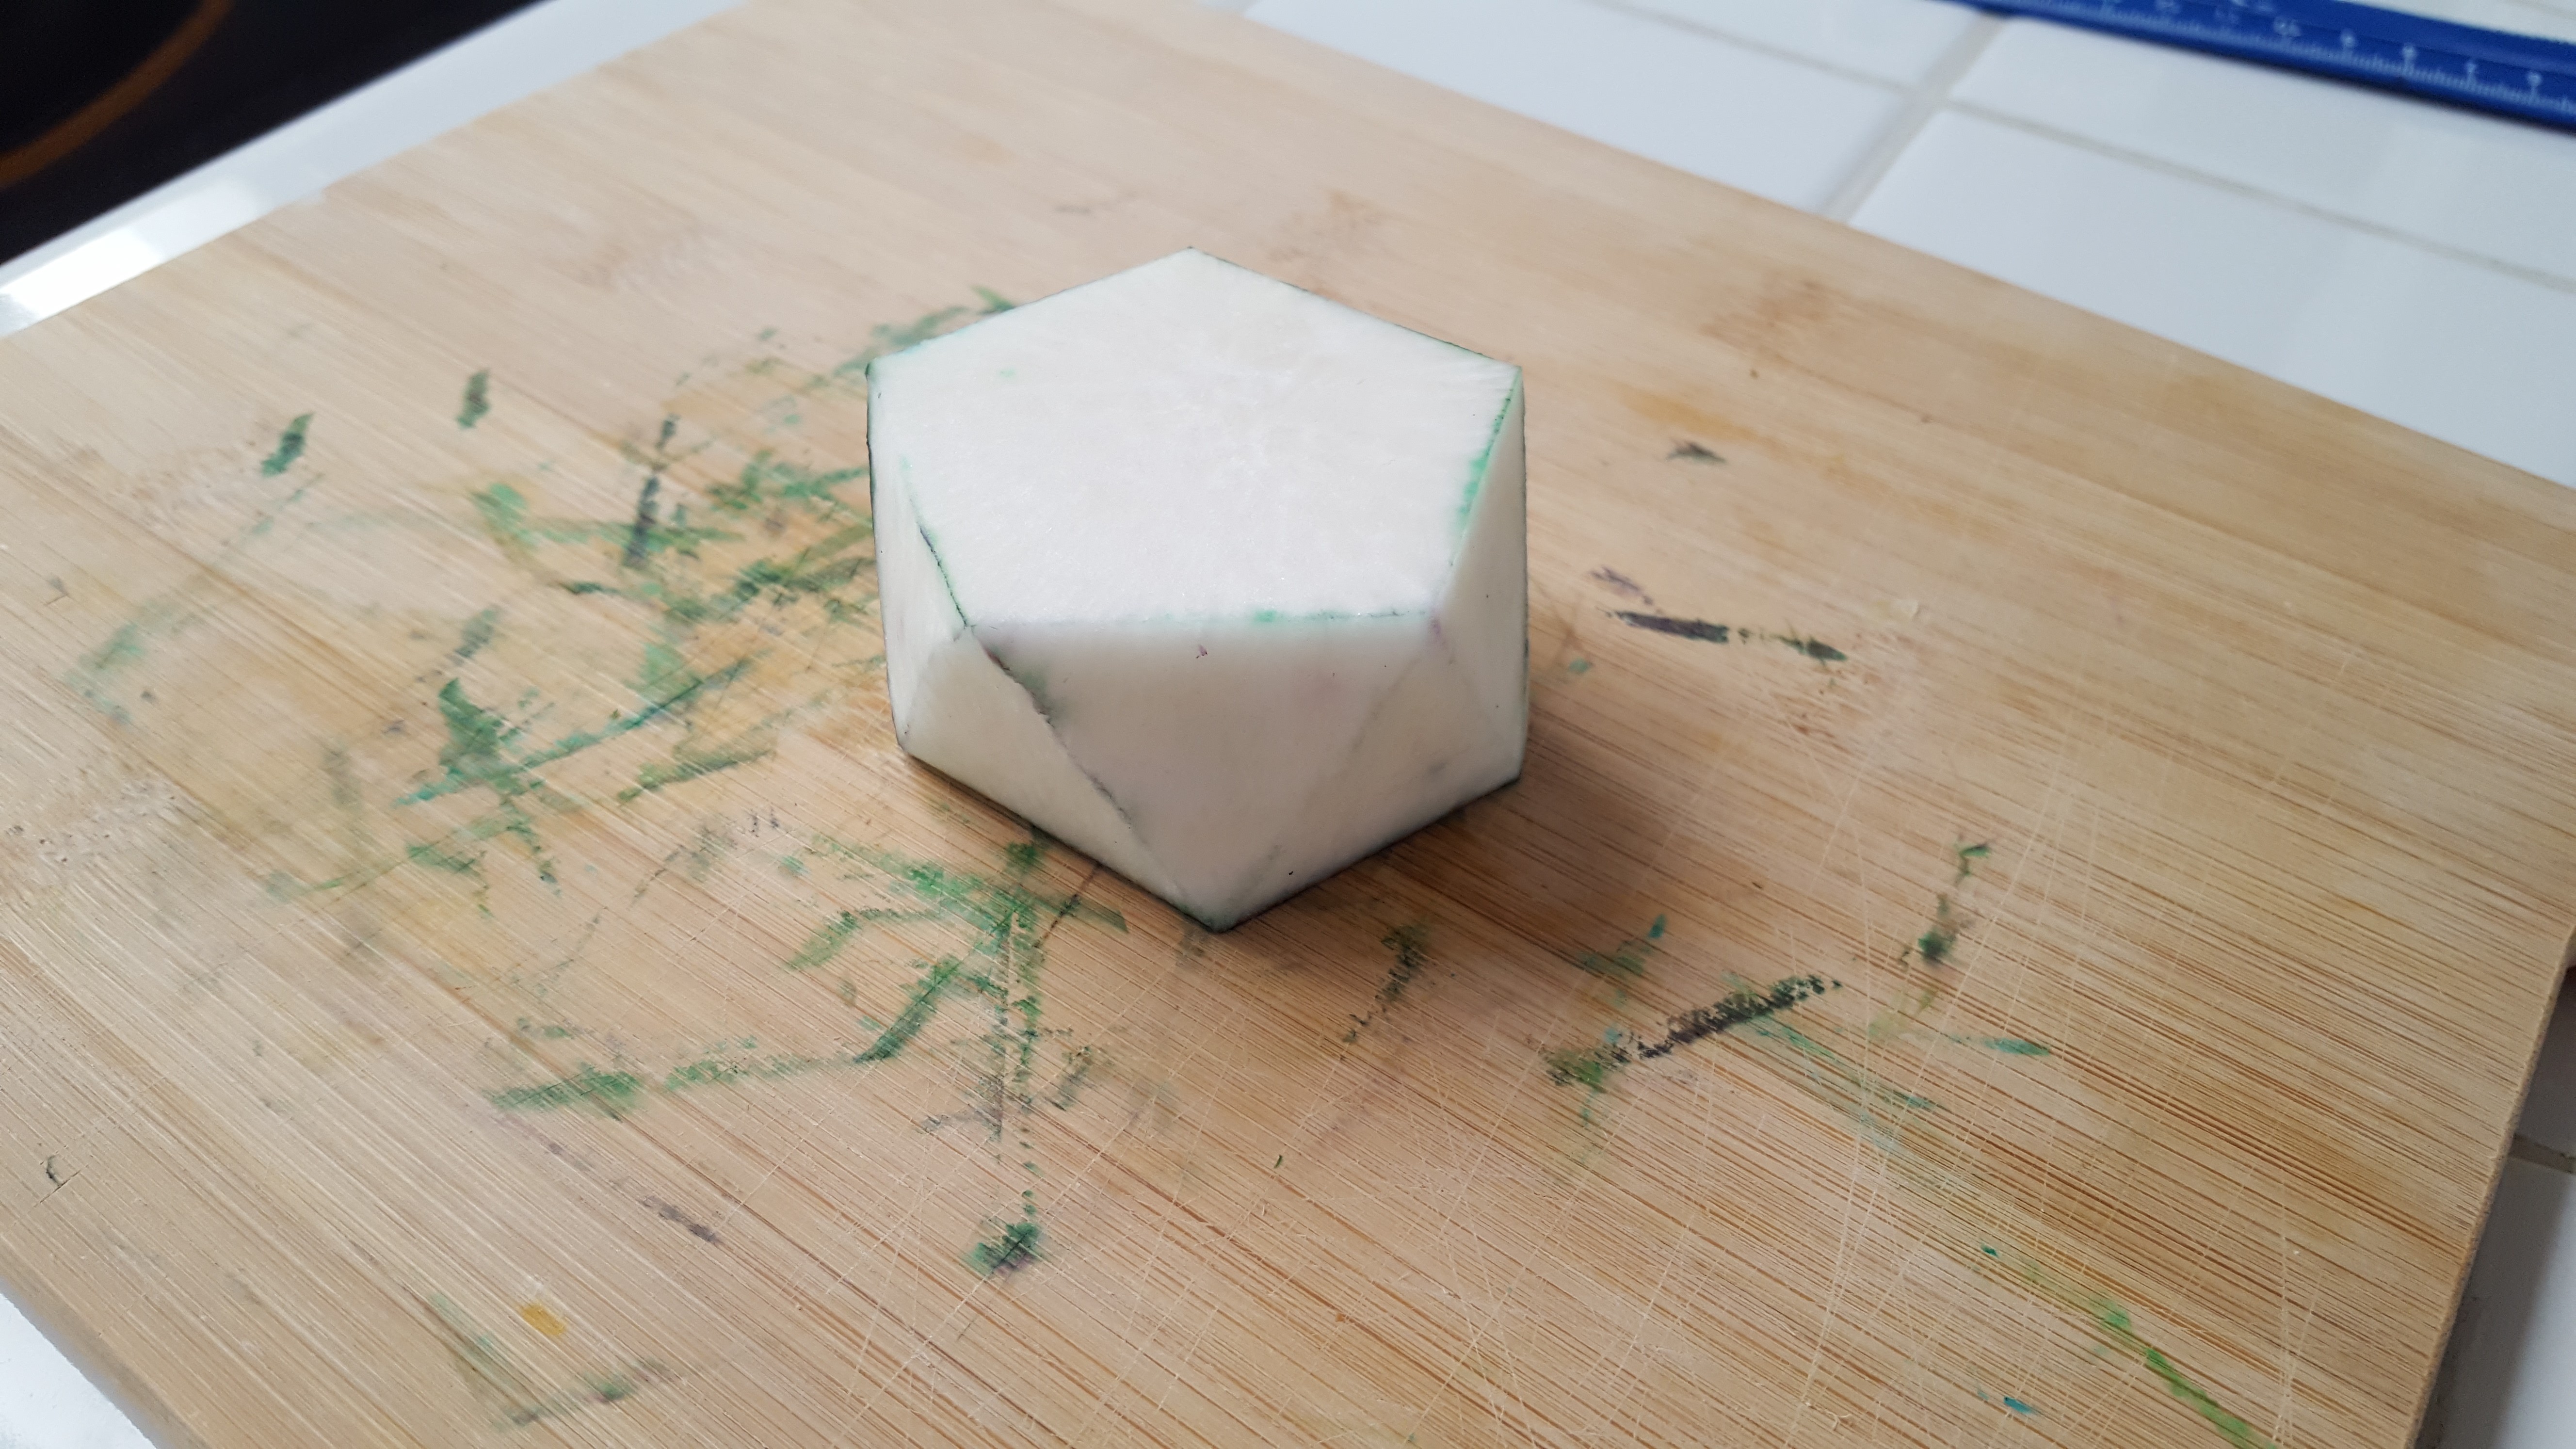
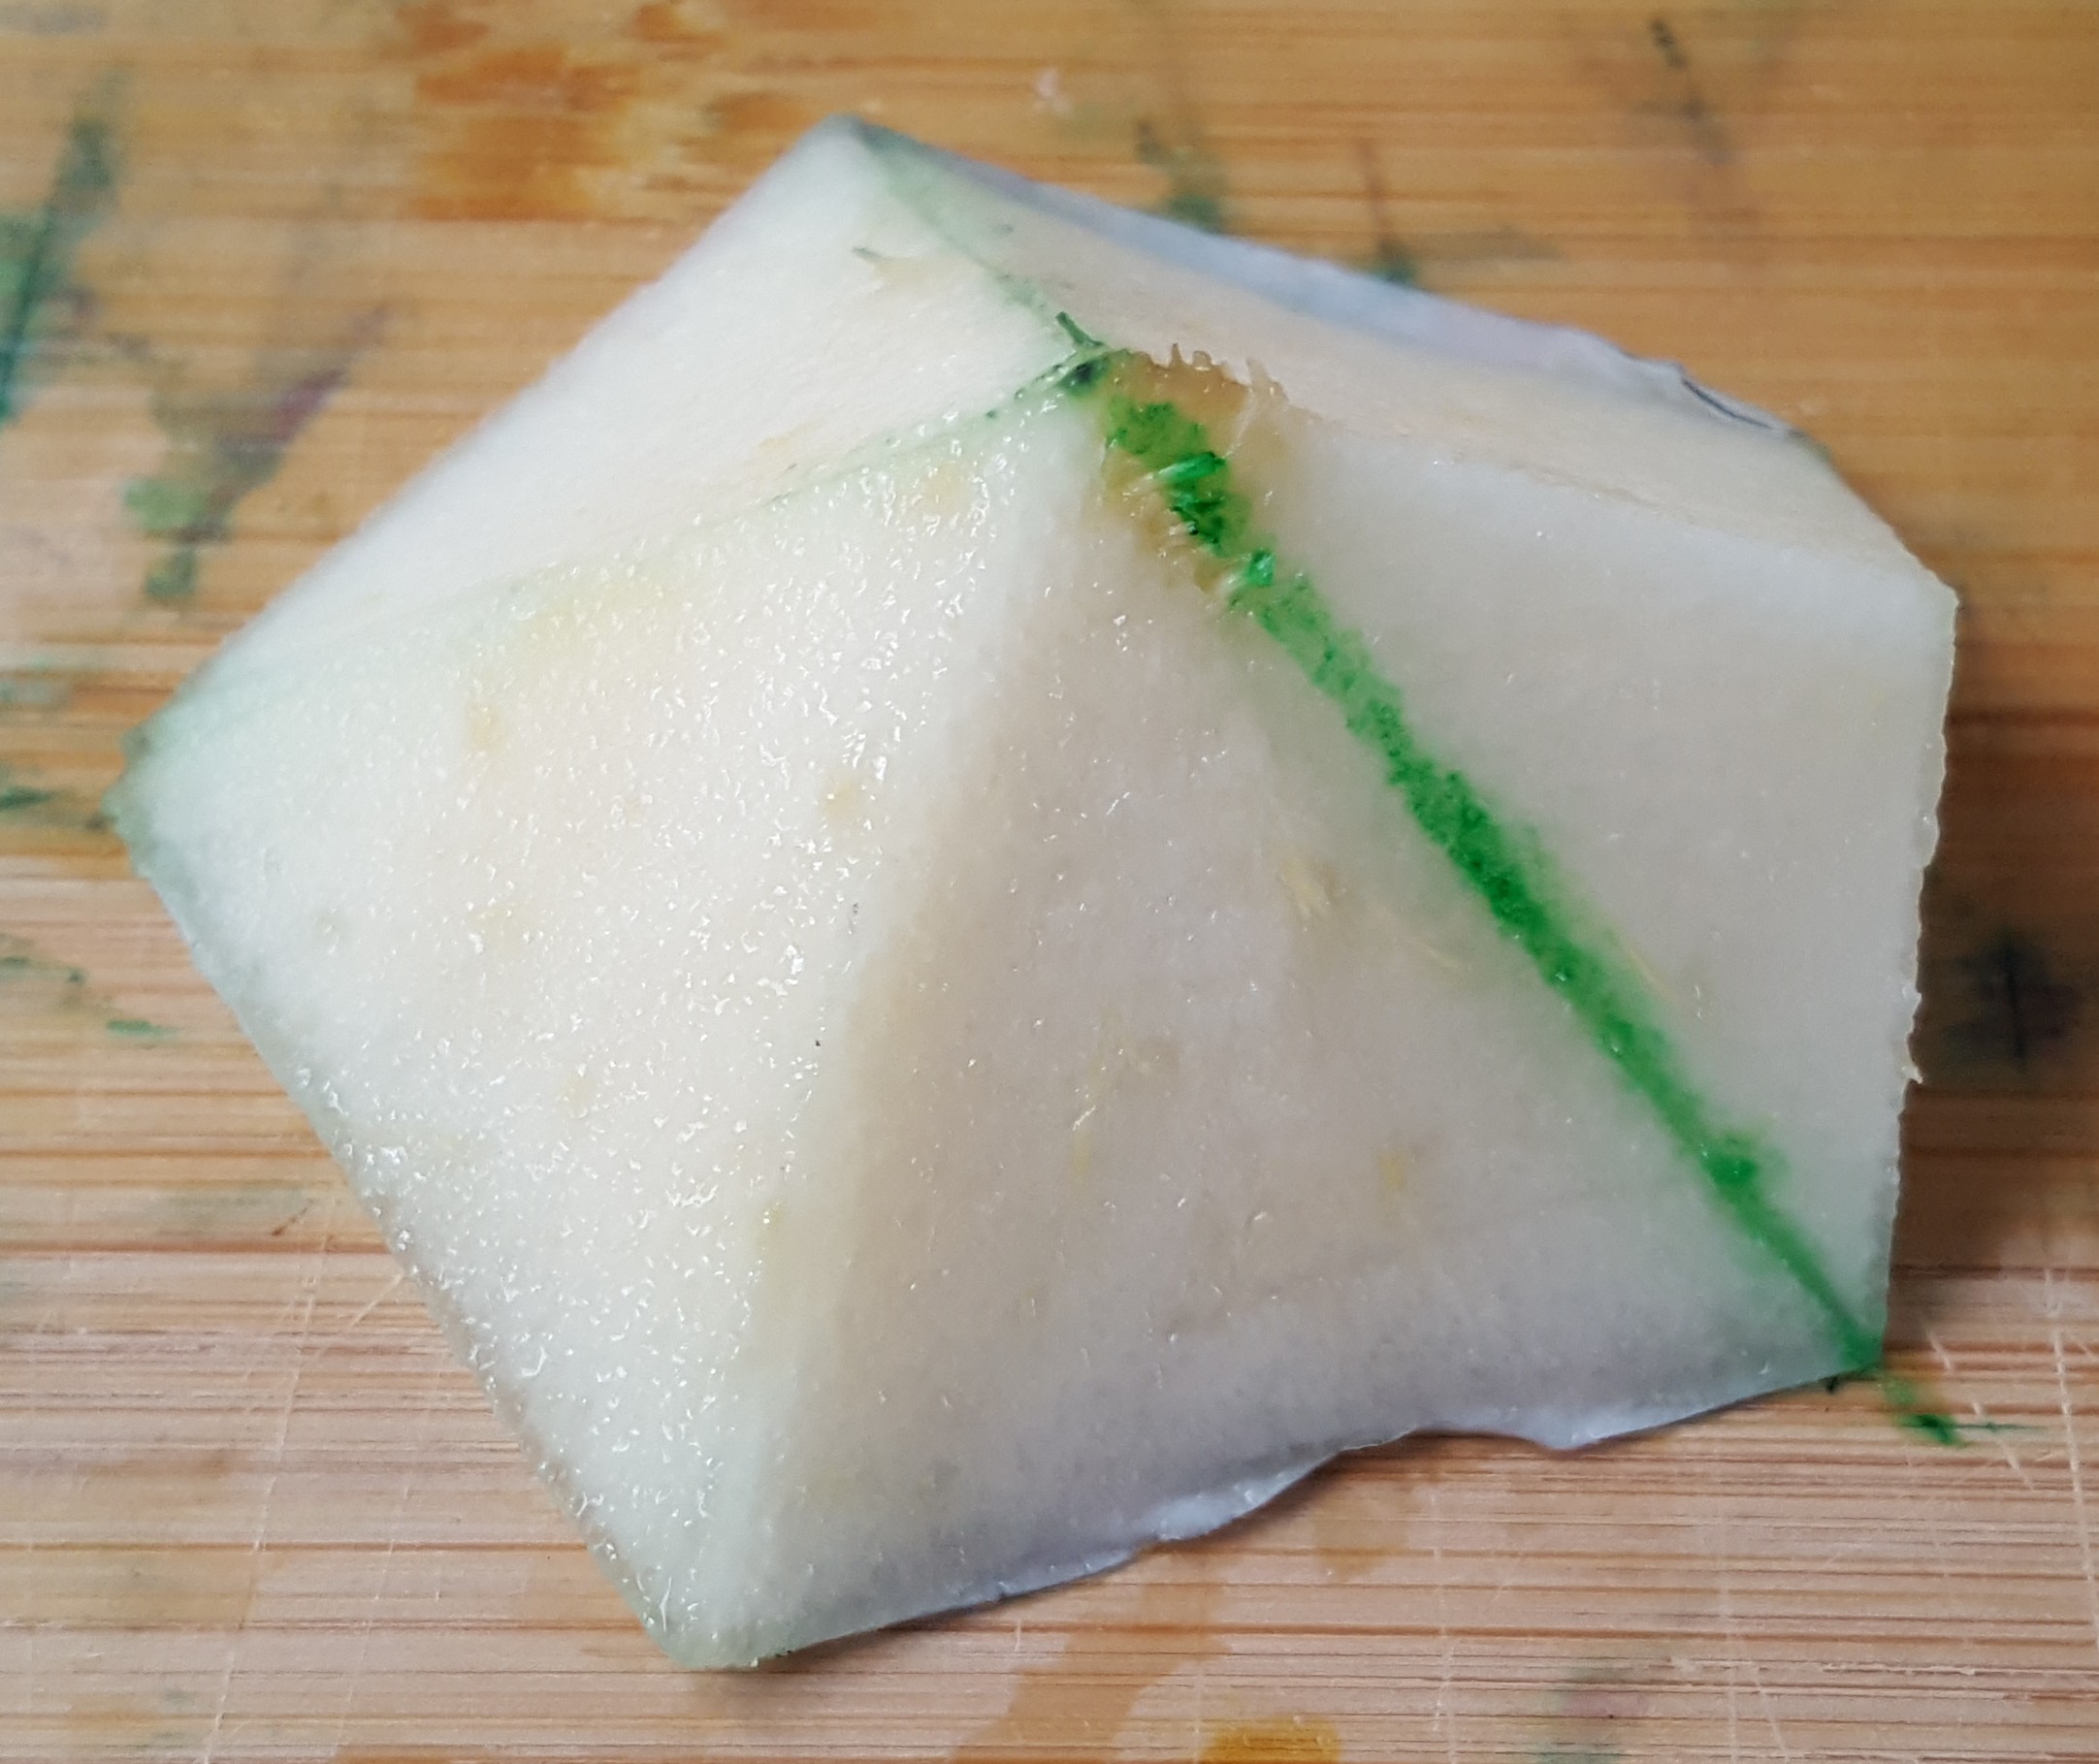
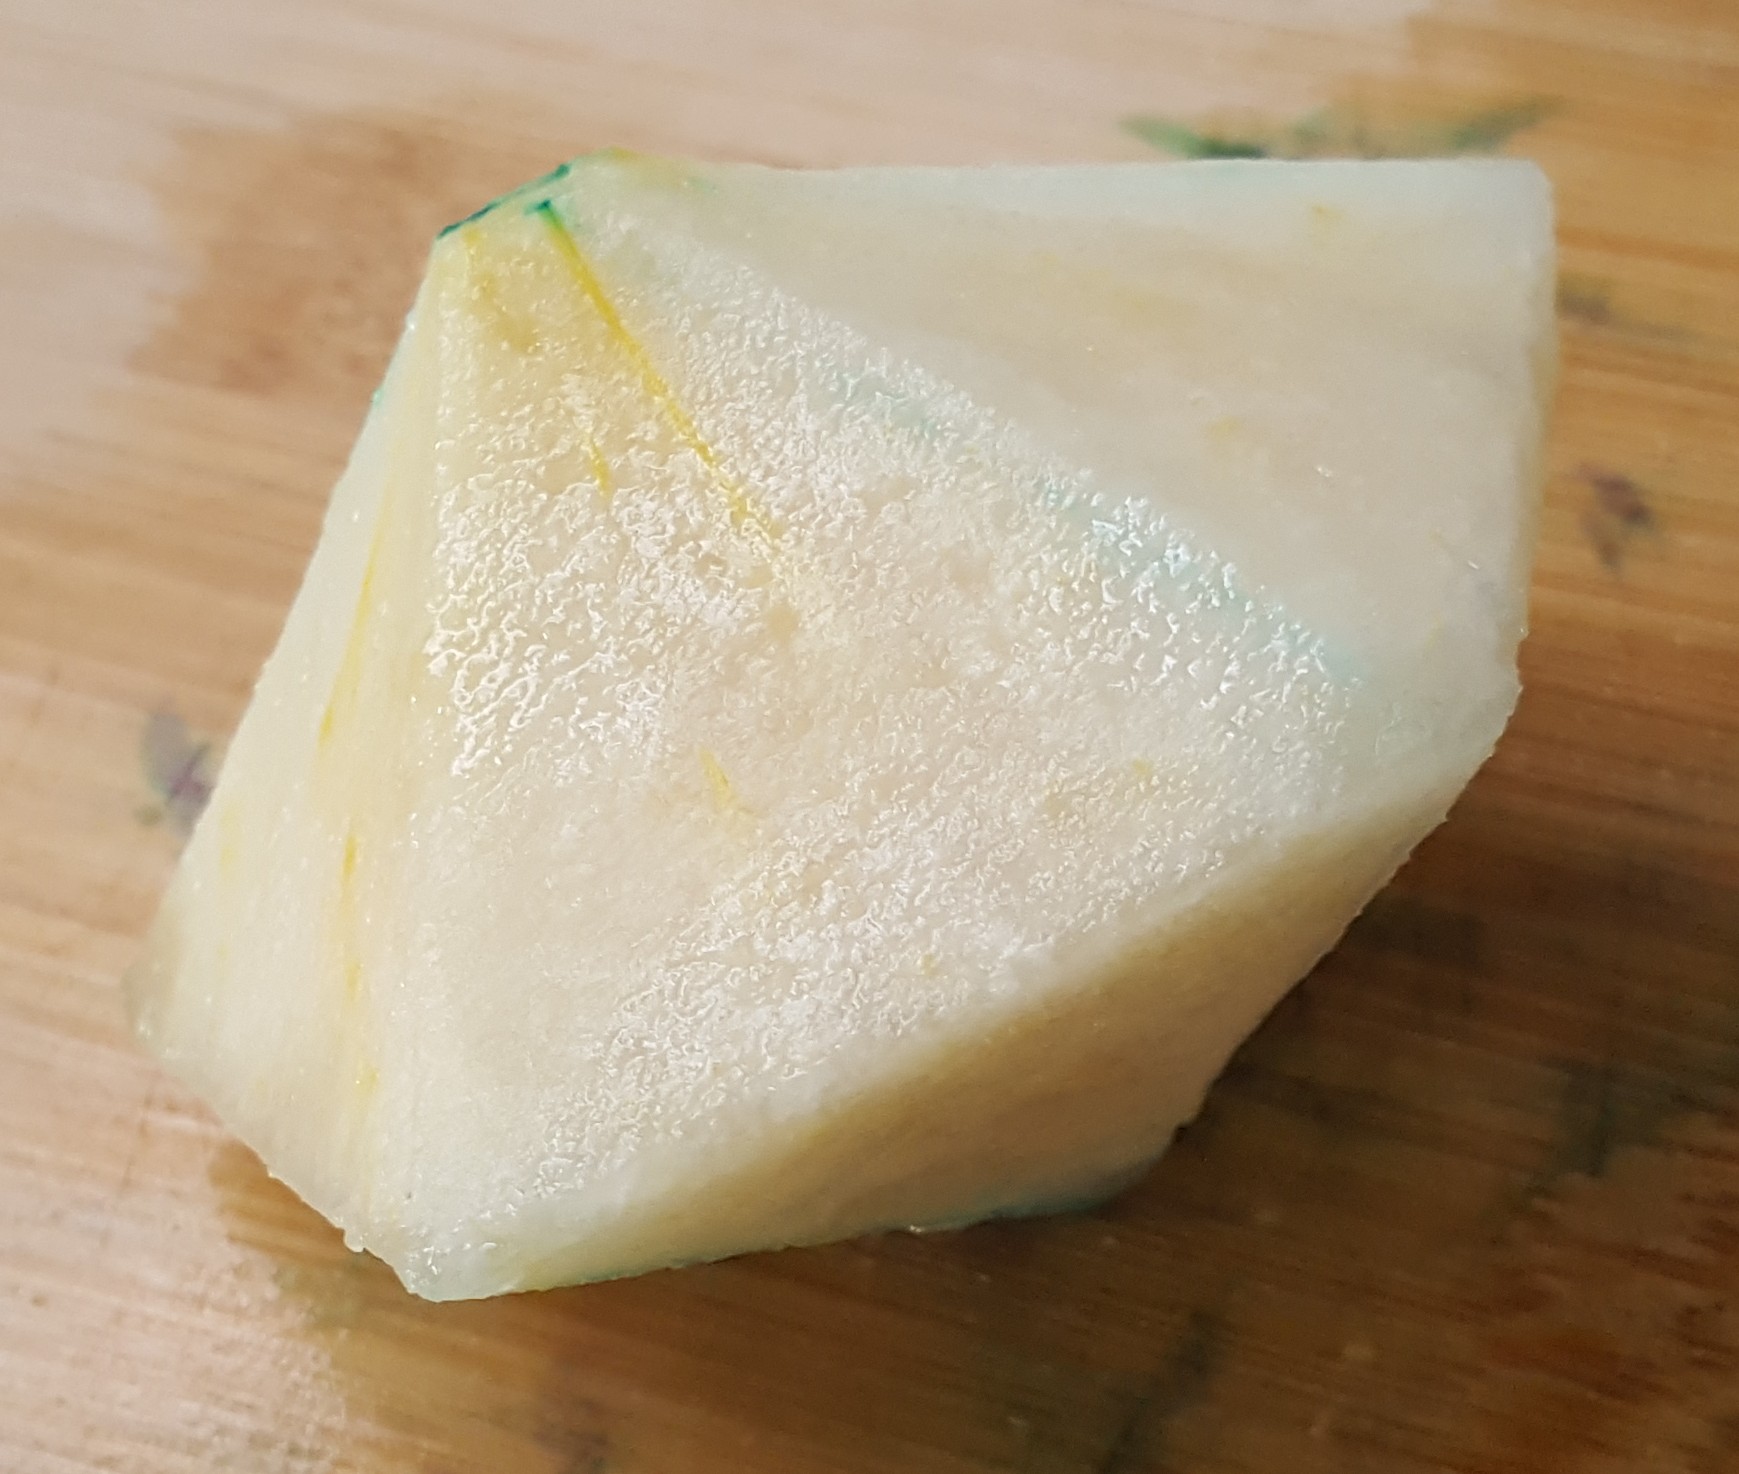
After that, the procedure is the same as before: draw one of the edges of the selected triangular face in situ on its plane that you just cut, and use that edge and the adjacent pentagonal edge (on what was the bottom of the antiprism for the first cut) to cut the plane of the adjacent triangular face. Continue around the equator of the antiprism in this same fashion; below you can see what it looks like just before the final cut, and when it is complete.
Next in line to be carved was this pear. Since it narrows to a point on the top, it suggested the carving of a regular pentagonal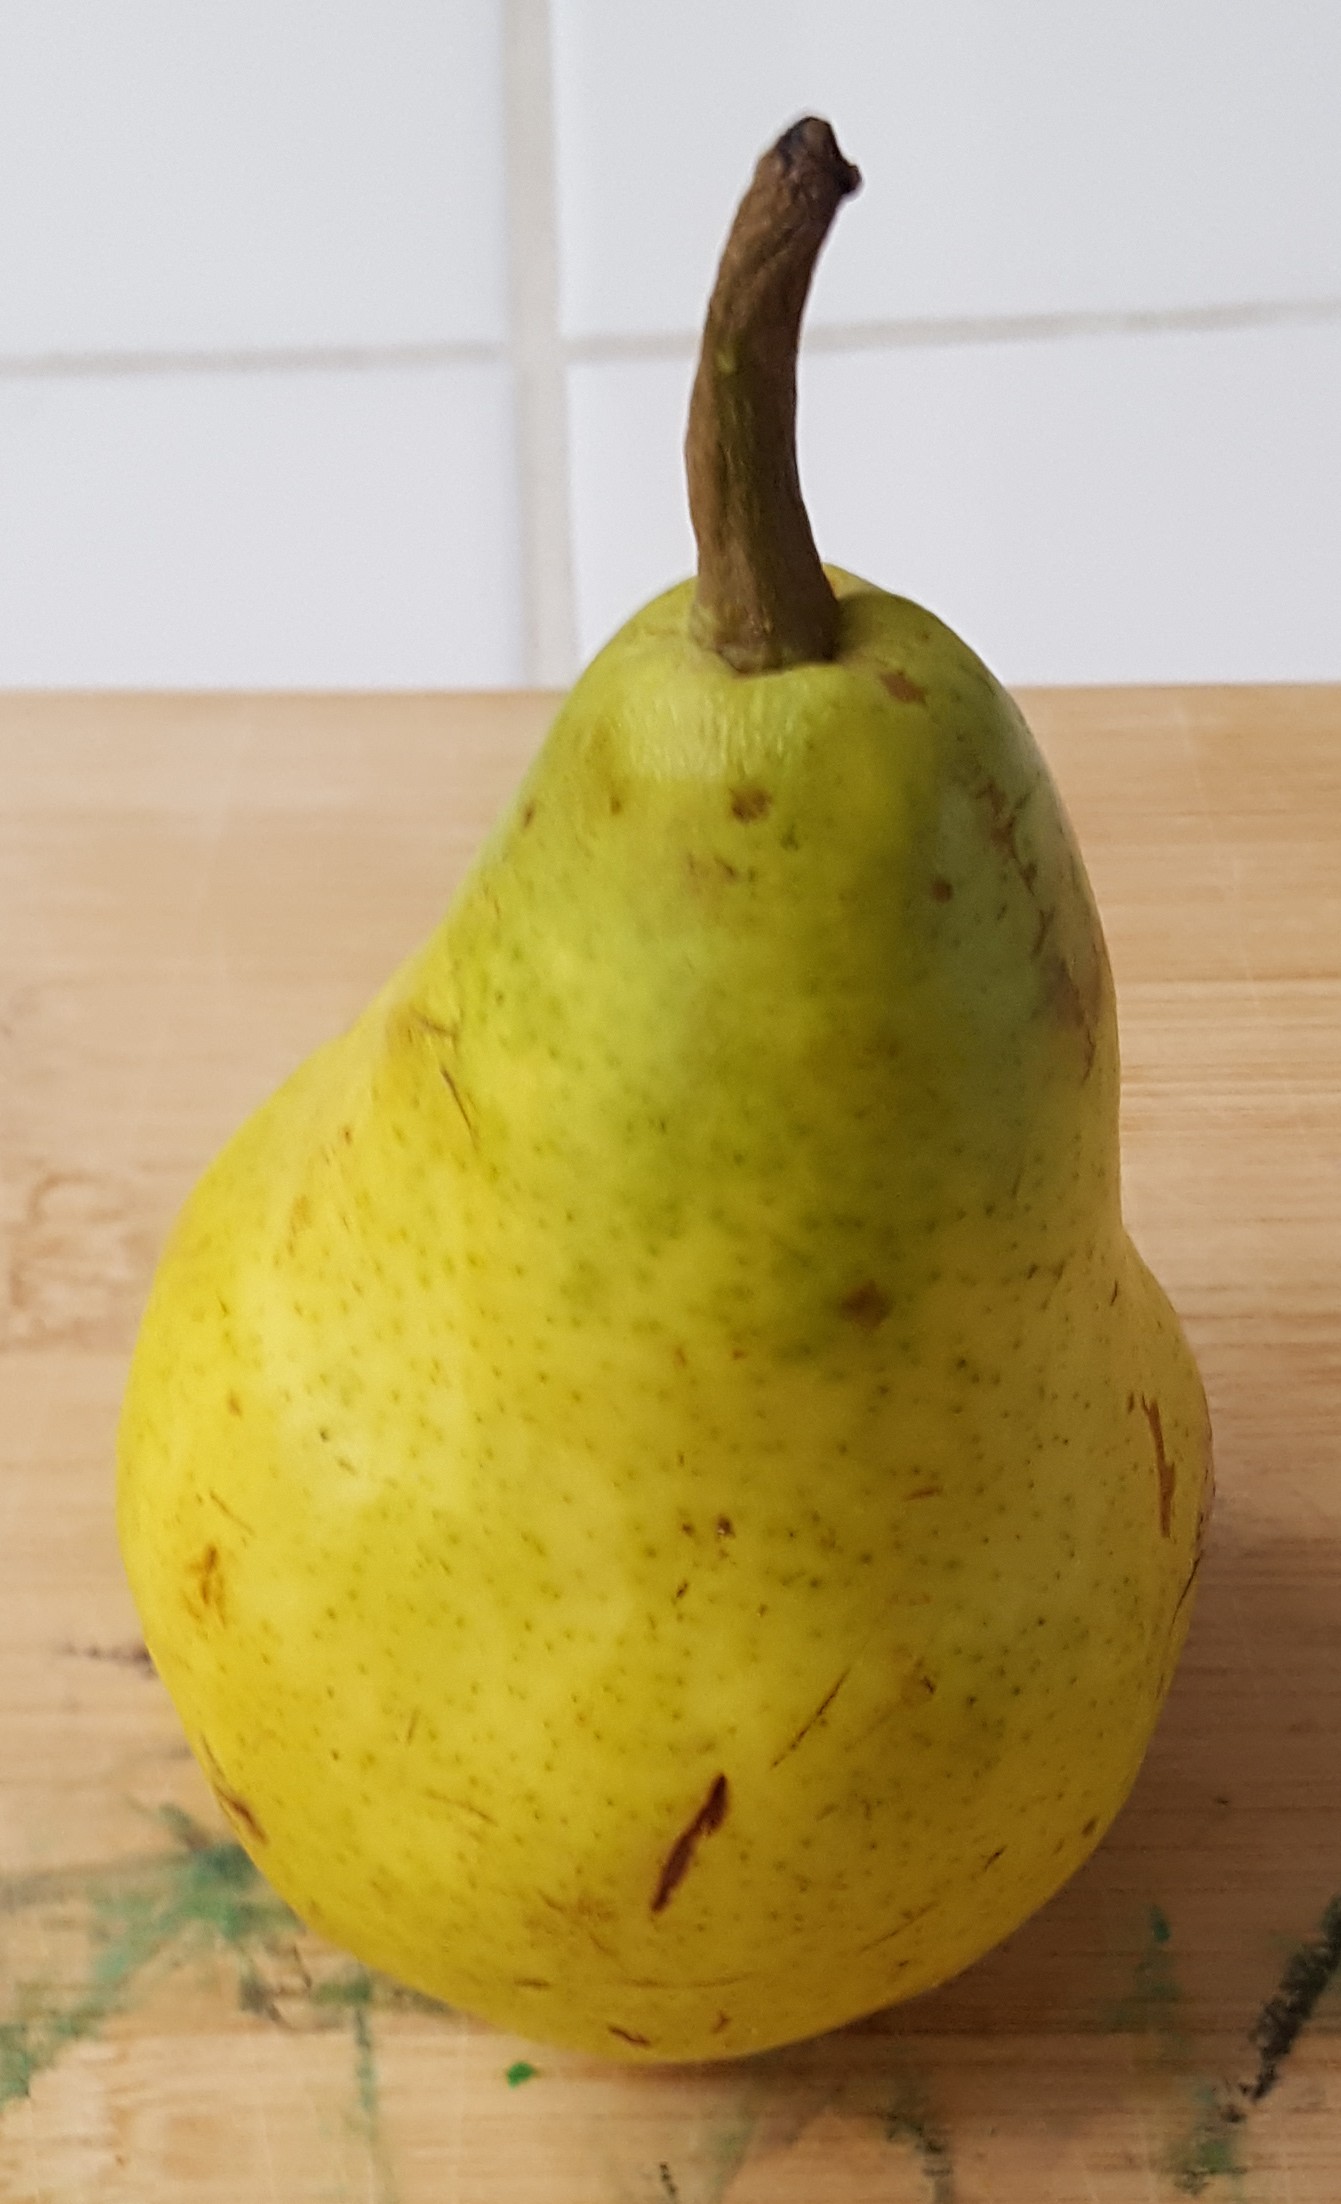 pyramid, one of the Johnson solids. I had some more pentagons around, and they fit the cross section at the base of the pair, so I simply re-used them for this polyhedron. As before, you need to find the height of a regular pentagonal prism; it turns out to be √(5-√5) / √10, or about 0.526, times the edge length of the pyramid. Given that my pentagon templates had an edge length of about 4.1 cm, I needed to cut my pear slab about 2.2 cm high.
Since we are making a pyramid this time, you can put the pentagon down on one side and immediately cut vertically along each edge — the cuts don’t have to be perfectly vertical, as we will be removing a lot of the material from the other side anyway. That makes it easy to line another pentagonal template up on the other side to find the center of the opposite side, which will be the apex of the pyramid.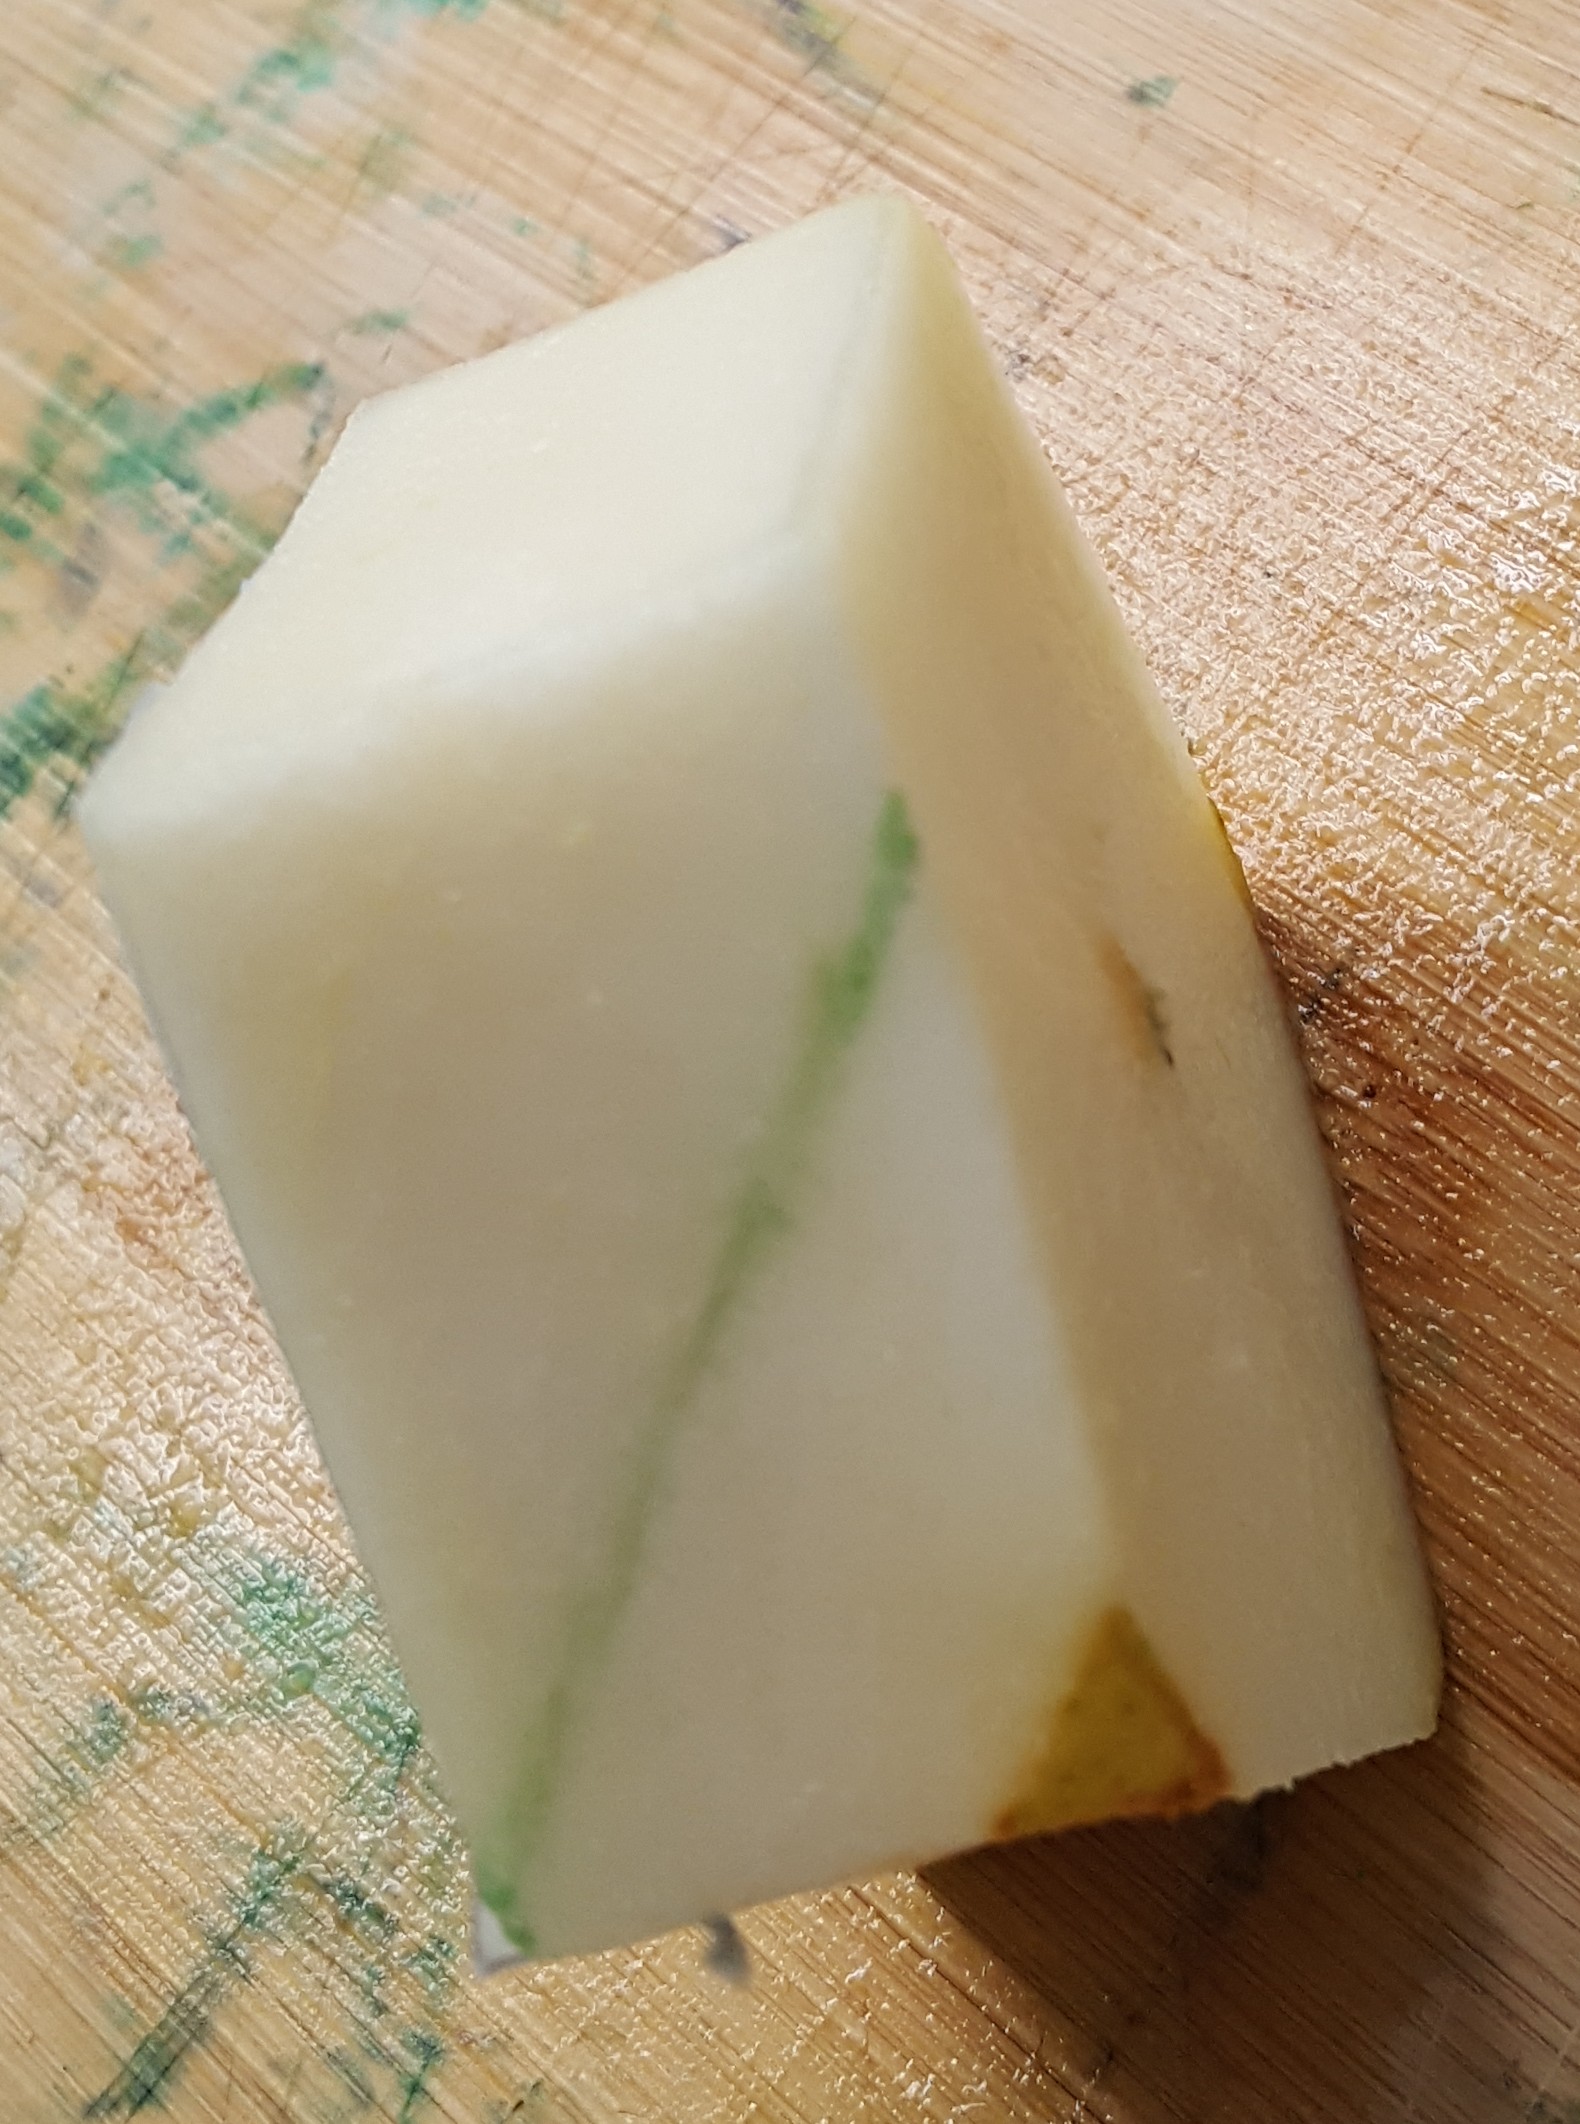
Now we’re ready to cut the triangular faces of the pyramid. Eyeball your first guideline while sighting along one edge of the base to run from in front of the apex down to the corner of that edge nearest you. Once you’ve made that cut, you can draw one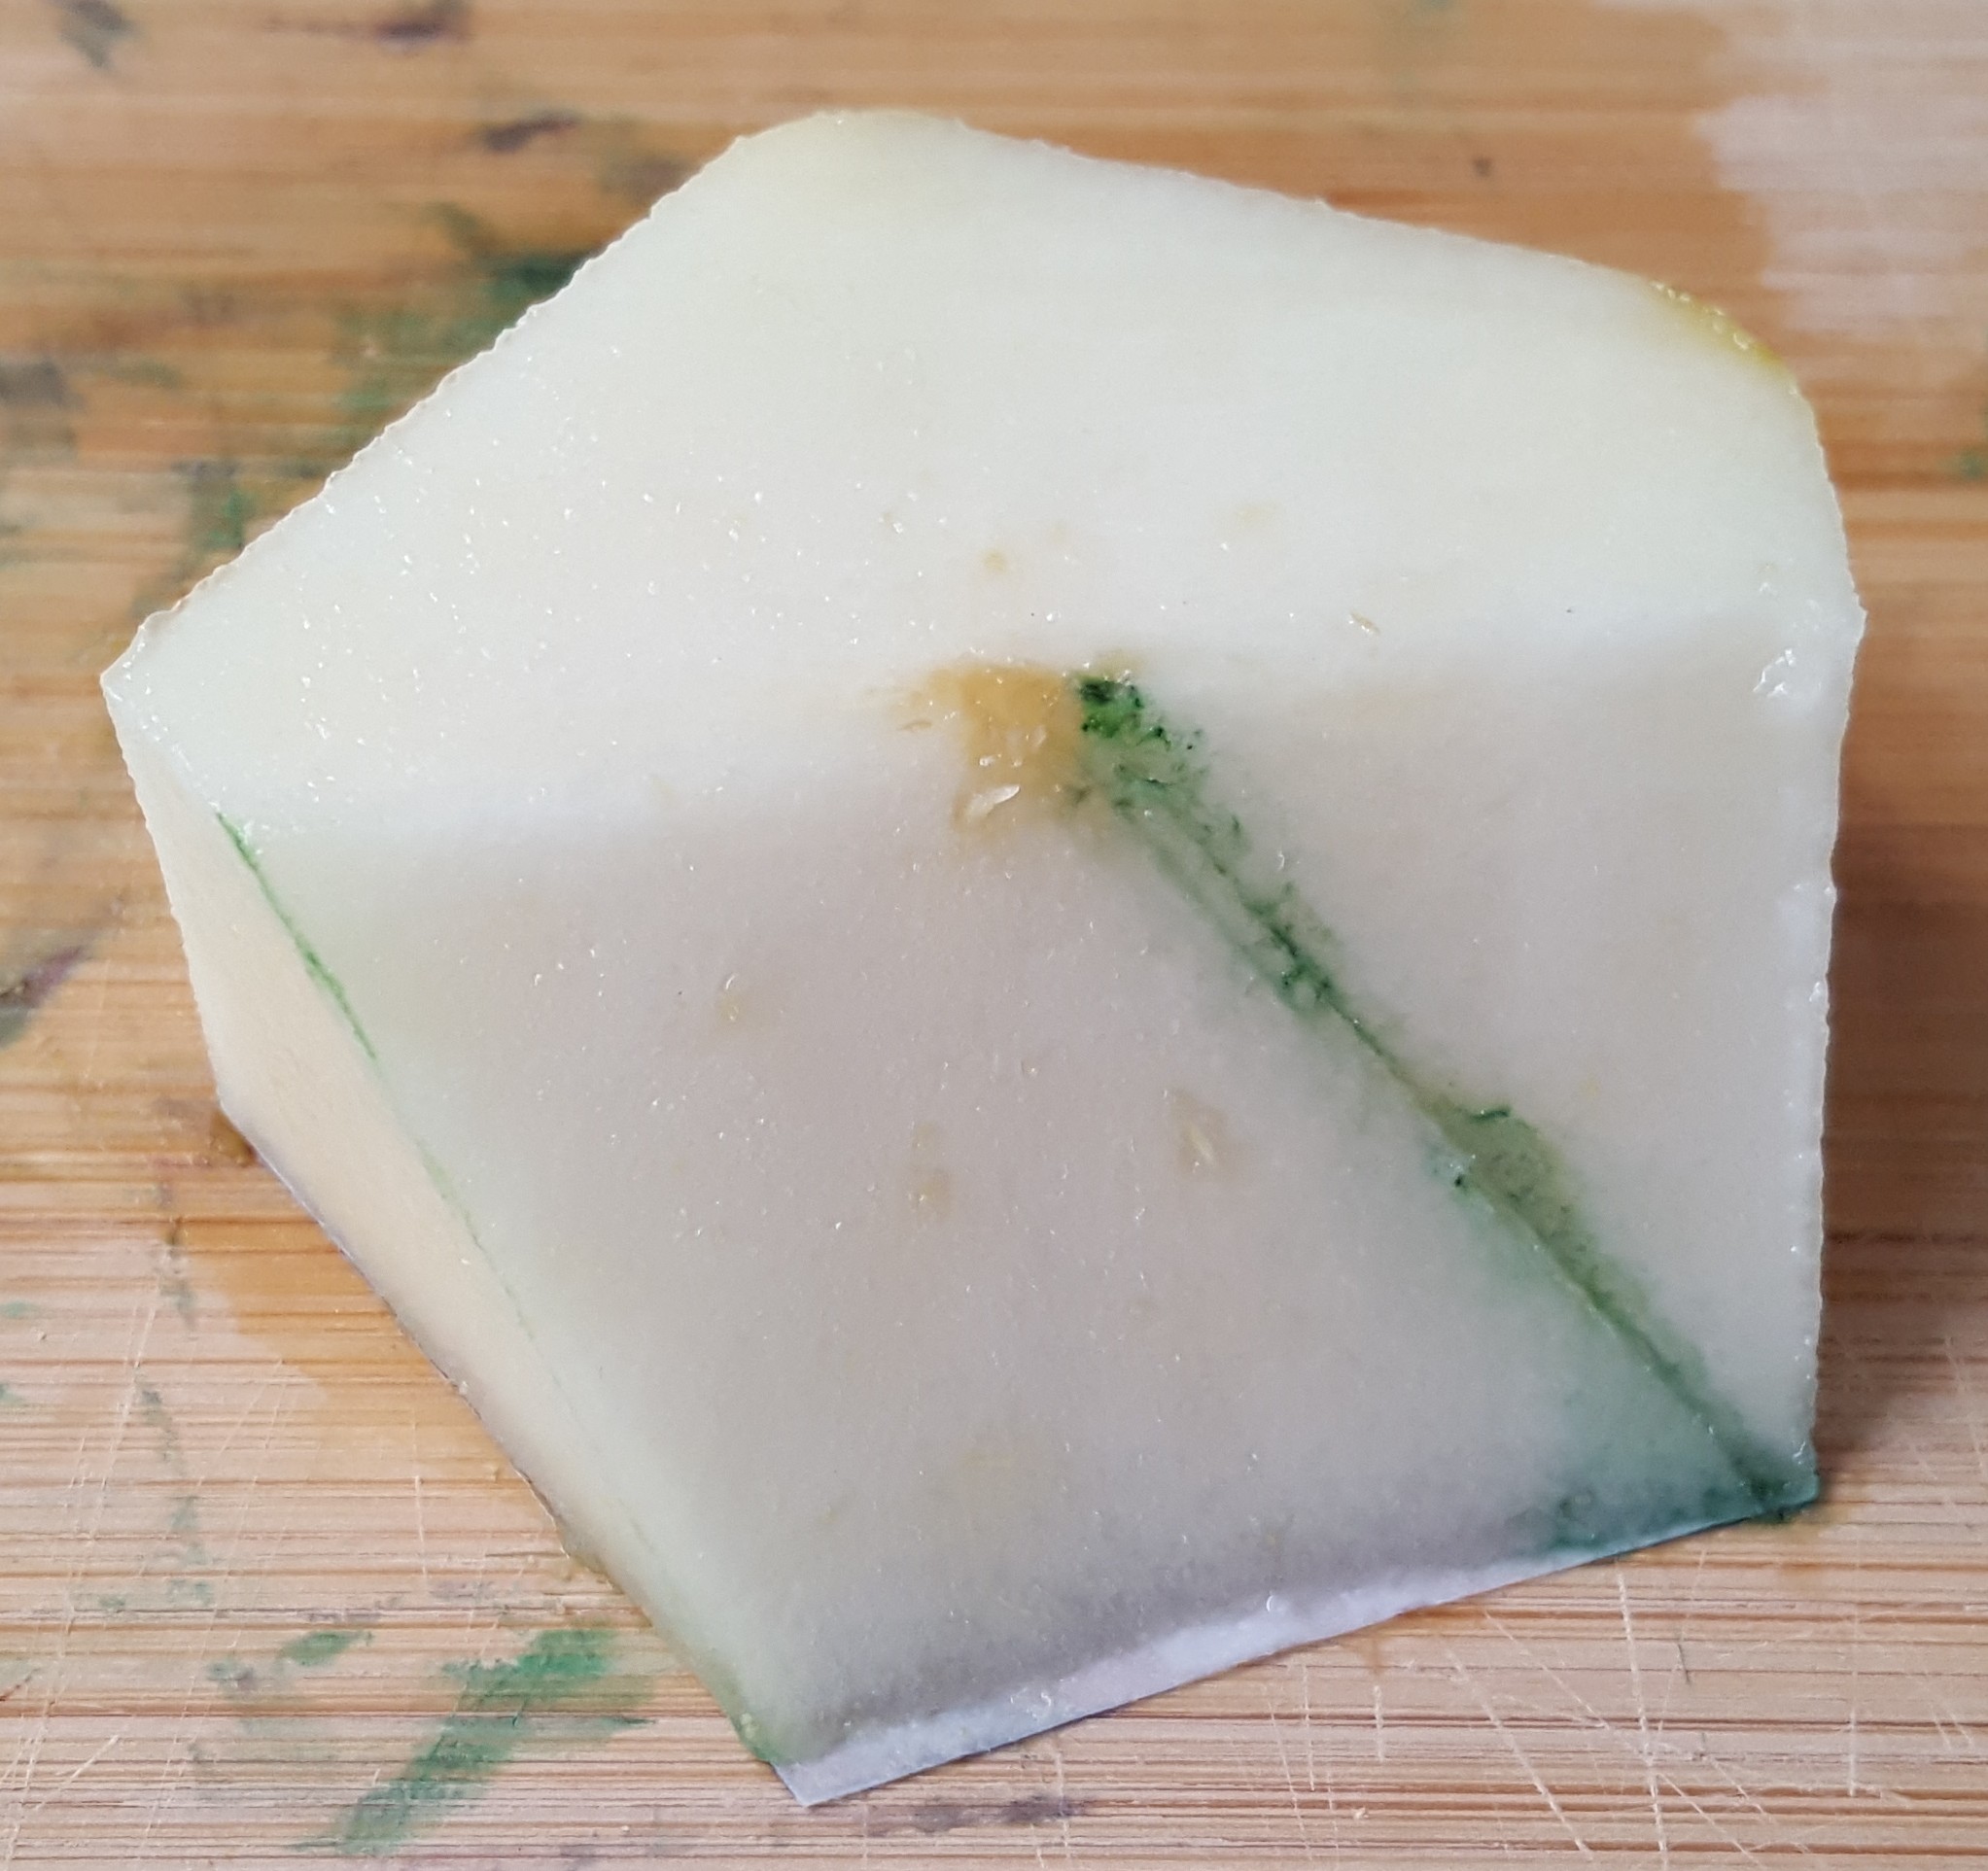 of the edges of the triangular face in that plane, from the apex to one of the corners of the base, and use it as a guideline for the next cut. Work your way around, and in five cuts from the apex down in all, your pentagonal pyramid is complete.

A nice bonus of using the same size pentagon for the turnip and pair is that then the two polyhedra stack to make most of a regular icosahedron (we’d need just one more pentagonal pyramid for the bottom to finish off the full icosahedron).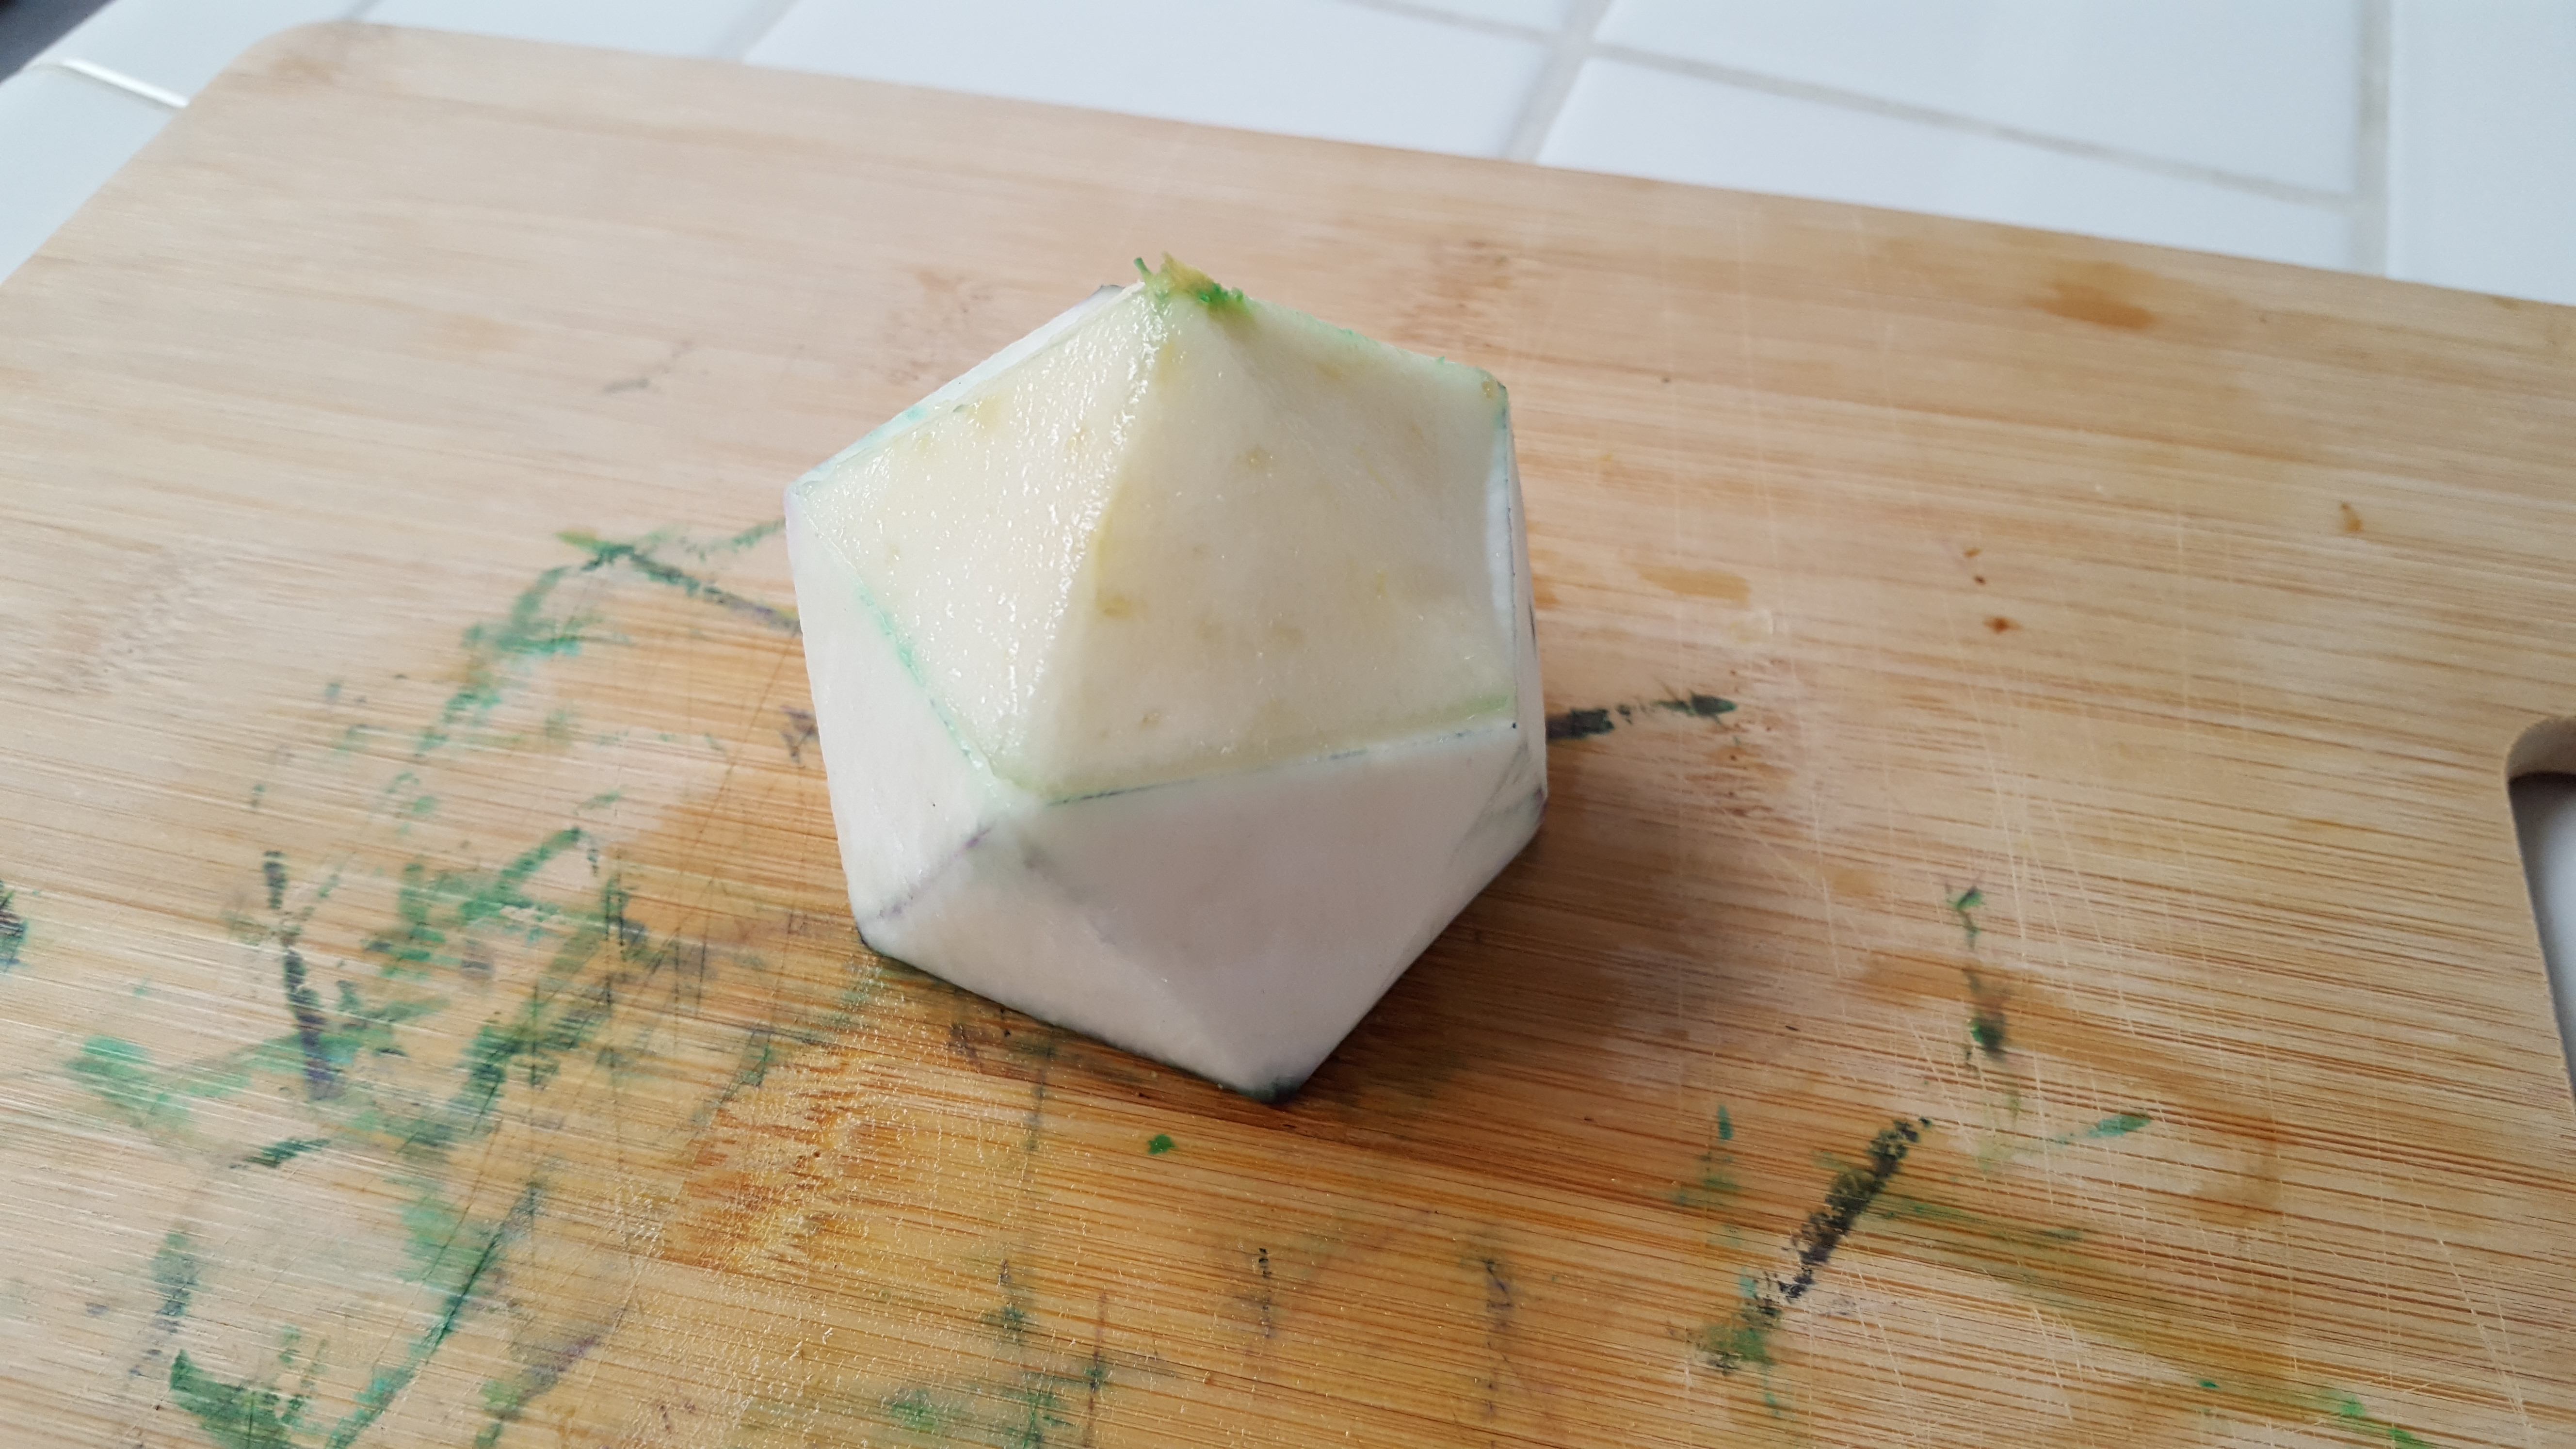
The final fruit for this week is an asian pear.
 Since it’s fat in the middle and tapers toward both ends, and already has a roughly pentagonal aspect to it, it suggests nothing more exactly than a pentagonal bipyramid. This carving, documented in the pictures below, is basically just a double of the first pear. You have to cut the slab twice as thick (note I marked the fattest part of the pair as the center of its height and measured half the height to the right of that before cutting the first slice, and then measured the full height around as usual and cut to complete the slab). Then you align pentagons on both sides (I had to use a skewer this time, rather than a needle, because the slab was too tall for a needle) and cut out a tall pentagonal prism. Mark the centers of the top and bottom pentagons and the midpoints of each vertical edge, which are the equatorial vertices of the eventual bipyramid. Now you have a mark at every vertex of the final carving, in its actual location in space. Finishing off just involves drawing guidelines that follow the planes connecting three nearest-neighbor vertices and slicing along those planes. It breaks down into two sets of five cuts for the “top” and “bottom” pyramids, each equivalent to what we did for the pear pyramid.

Up next time: pseudo-Archimedean, Catalan, and snubbed solids!